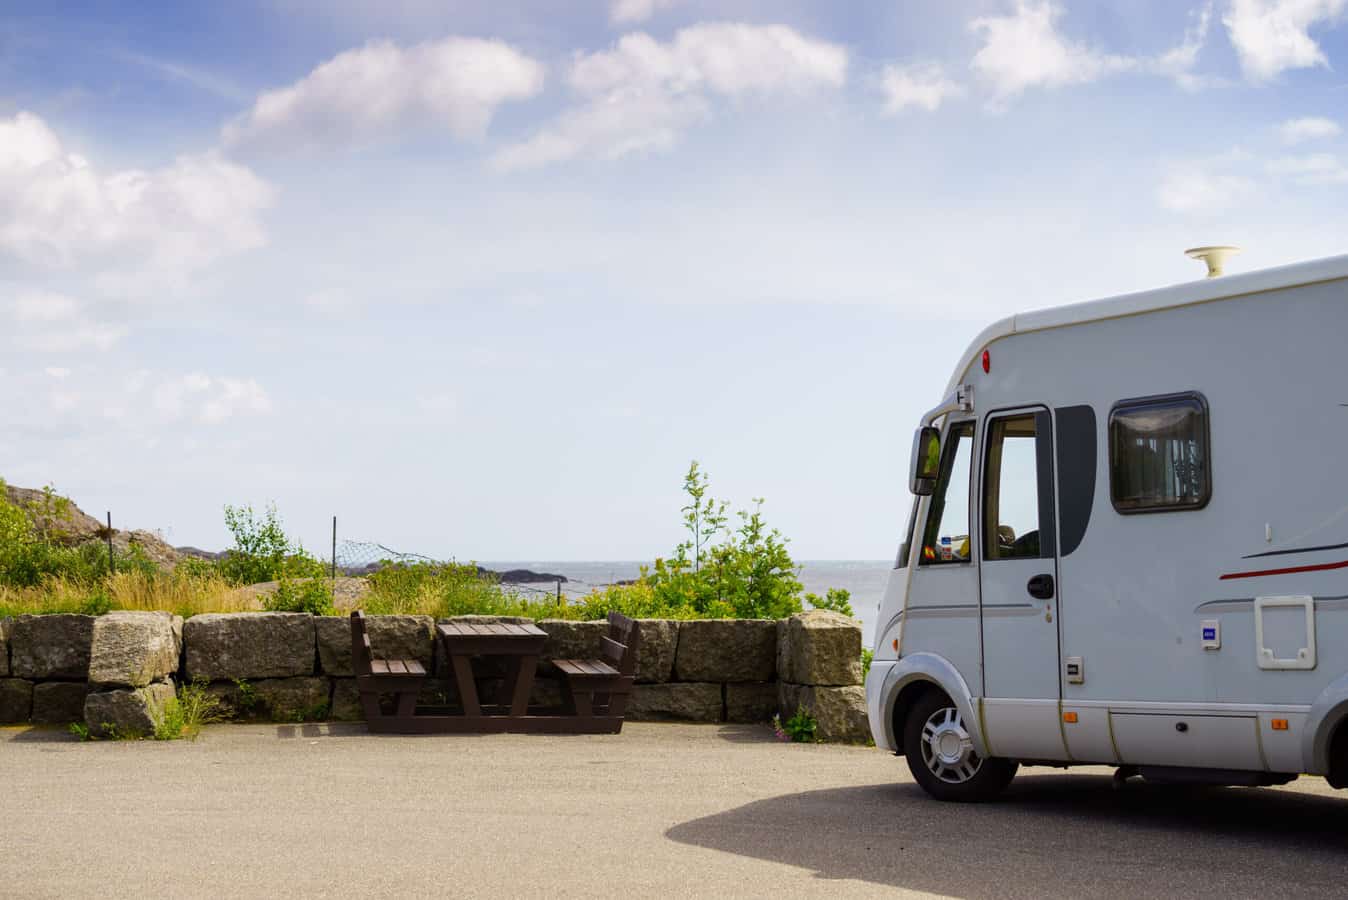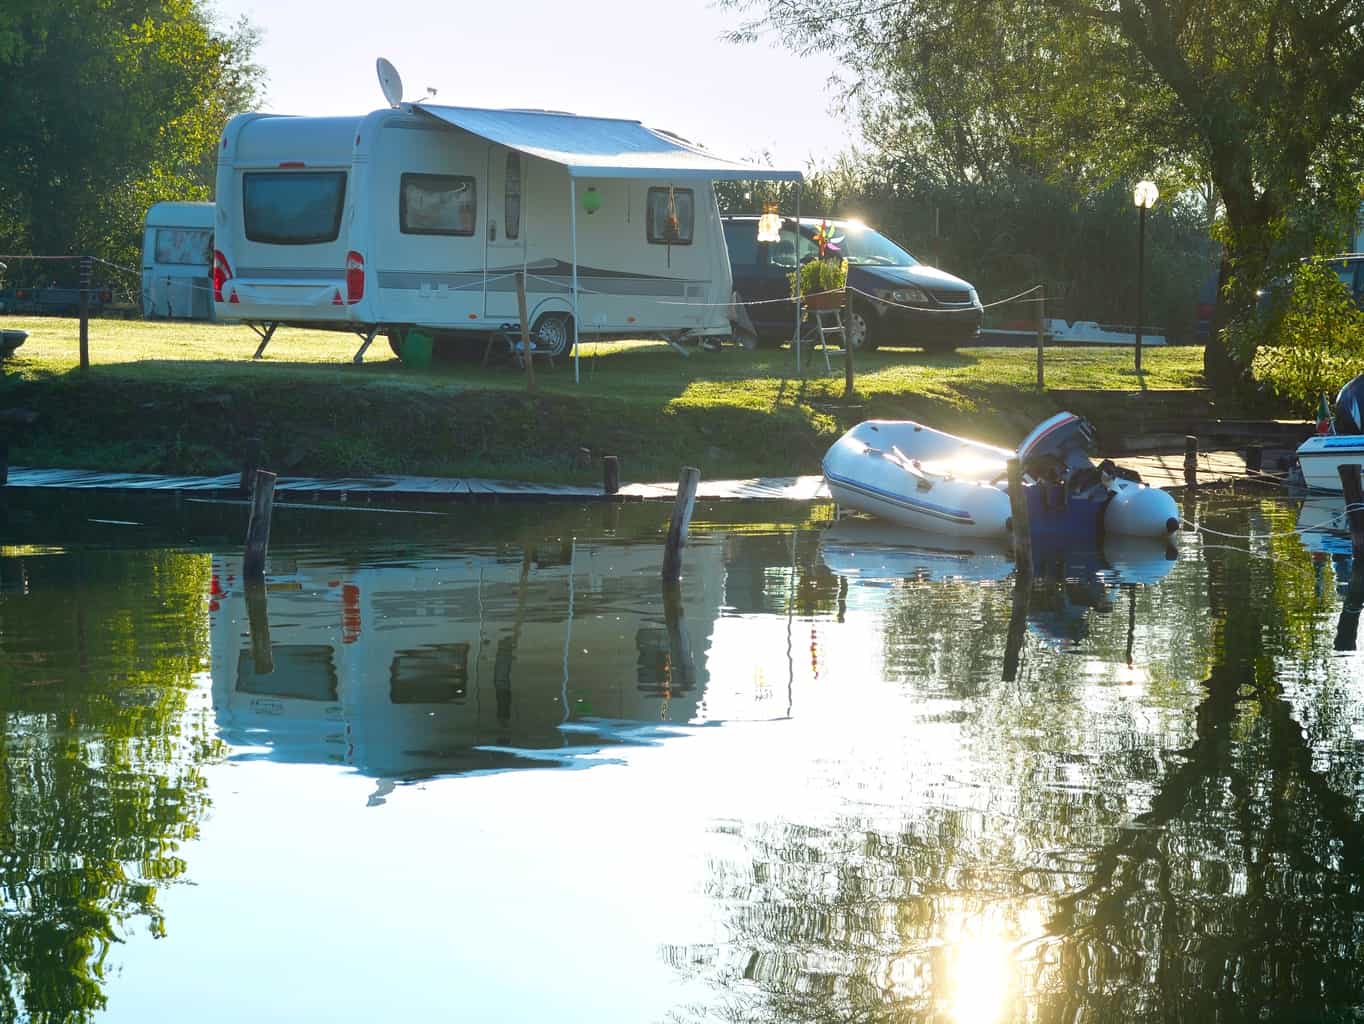
The travel trailer virgins took the rolling motel room on its shakedown cruise a few weeks ago. We survived. YAY! Turns out, it really is not brain science or rocket surgery. If you take your time and think your way through, you too can set up your own motel room with a simple two hour training session under your belt. We did learn some things, though, and thought we would pass them along – –
Leaks
So many writers in the various sources Pam peruses talk about how their trailers leaked, even when new, that we were worried. As it happened, a Category Five hurricane (okay, maybe it was just a thunder storm) blew through on our second night. And there were no leaks. Here’s a shout out to Keystone. Their Outback Ultralight 260uml is perfectly dry, at least so far which includes about 72 hours at the campground. Dave is told it was a pretty spectacular storm.
He slept
The bed is pretty comfortable as it turns out but only because the bride put a feather bed on top of the rock hard standard RV mattress.
Ladders
One of the things we read, repeatedly, that we needed was a collapsing ladder. It’s available from Amazon (isn’t everything?) for about a hundred bucks. Its importance is to give you a way to check things up on top. Horror stories of sticks jammed into the slide and ruining seals or jamming mechanisms abound. This is also the gateway to checking to see if anything has fallen onto the roof, cracked any of the little vent lids, or generally cluttered things where no clutter should be.
What they don’t tell you is how the damn thing works. Dave, having worked construction jobs as he misspent his youth, assumed that you would push the two little red buttons and then lower that section. That was the plan. If you want to hear God laugh, make a plan.
Pushed the two little red buttons.
BANG!
Hit on the head as the parts above ALL dropped.
Cussed.
Thought. Okay, it’s a handy thing to have but it is a pain to put down. Dave hit himself on the head while down telescoping the ladder. Pam is still scratching her head as to how this occurred.
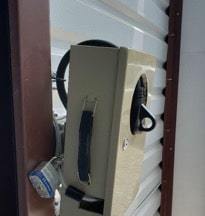
Locks
The basement and other exterior storage access hatches are keyed so that one key works all. Unfortunately, we were told by the guys at the dealer, when they say “all,” the mean “ALL.” Dave, a former Lowe’s employee (he misspent his youth in a variety of occupations) remembered seeing locks that looked a LOT like the locks on those hatches in the general lock section of the hardware section at his store. Off to Lowes seeking three locks with the same key that would fit in the existing hole.
FOUND THEM!
Unfortunately, they were finished in gold and since we’re not named Trump this seemed a bit over the top.
Off to Menards.
FOUND THEM!
This time in simple grey with chrome bezels. Dave found three with the same key. Now off to the trailer storage place to put them on.
If you have ever worked with these simple lock systems they actually are, well, simple. The locking is done with a steel piece that rotates when the key is turned and then either fits in a slot or simply behind something solid. To disassemble just remove the screw holding that steel piece on, then unscrew the big nut that holds the entire assembly to the door or drawer or whatever it is you want locked. Pull the lock assembly out through the front of the door (or drawer or whatever) and reverse the procedure to install the new one.
Except……………
It didn’t quite fit.
The 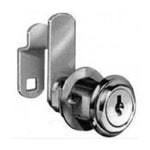 way these simple locks are held in place is that the barrel of the lock has flats to keep things from rotating. In the case of the generic locks I got, the flat parts of the barrel had smaller flats and therefore, would not fit through the existing, square edged, hole. What to do?
Since Dave was actually a factory trained technician for Briggs and Stratton, among others, and a bit of a handyman around the house (when he can’t avoid it), he has a reasonably well-equipped shop. In this case, it was a matter of increasing the flats (reducing the distance between them) from about .665 inch to about .625 inch. Forty thousandths doesn’t sound like much and if you have a small belt sander, it isn’t. It was a matter of a couple of minutes to sand the flats and get the width down to that .625 target. Run the nut that mounts the lock all the way down, sand both flat sides more or less evenly (this is not a particularly precise operation), then run the nut back off cleaning up any little damages done to the threads. Then repeat to the flats right at the top and you’re done. No need to run the nut down to clear that last little bit at the top because those threads will not be used. That done, the new locks fit and for about six bucks new locks were installed and we can assume no one has a generic key that will fit.
Well, except – –
One of the storage doors was made of thicker material. For the basement doors a thin material was used. For the storage on the side, though, the door was the same stuff as the walls. Not terribly thick (it is, after all, a travel trailer) but thicker than the other doors and, more important, too thick for the nut to engage. So back to Menard’s for a lock with a longer barrel and repeat the process. Dave couldn’t avoid having two different keys, but at least they are keys no one else has.
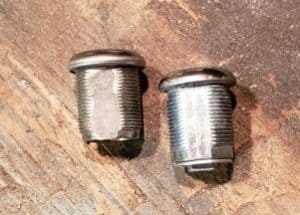 It’s not real clear here, but you can see that after some sanding the flat side of the barrel on the one on the left is quite a bit bigger than the one on the right. It worked.
More Locks
More of Pam’s horror stories involved stolen batteries and LP tanks. So it was back to Lowe’s. This time a heavy cable specifically designed for locking things up. The one we bought was Master Lock branded so we think it’s probably pretty good. A couple of Master Lock padlocks to complete the ensemble. With more length than was strictly necessary, we went ahead and wrapped it around the battery box a few times too. Meanwhile we now have 4 tiny keys that all look alike to all the various lock on the TT. Bride of mine takes several colors of nail polish to mate each lock to each key. There is no trying every key now. Match the colors and you can open the lock.
Shaking
When we put the chocks in place and the stabilizer jacks down we were surprised by how much shake there was. It seemed to get solider as the tanks got some water in them, but it was still shakier than Dave likes. Before getting into expensive stabilizer systems we’re going to try the wheel locks that expand between the two wheels.
One More on Locks
When you have a couple of hundred dollars in surge protectors, fifty bucks in an adapter, and another hundred bucks in an electric cable, you don’t want it stolen. Unfortunately, the lock boxes available from Amazon don’t fit our surge protector. We know. We tried.
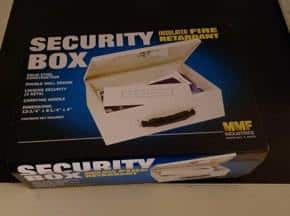
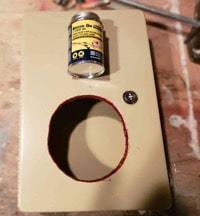
As a homemade solution Dave ordered a fireproof lock box for under $20. Four slots and another padlock and a lockbox was born. Well, it’s a bit more complex than that so let’s get into the details.
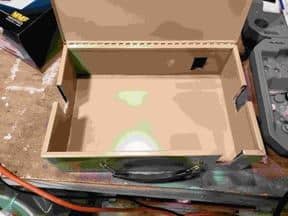
- Get a box, Mine came from Amazon and looked like this
- Use your Dremel tool to cut four slots. If you don’t have a Dremel tool, for crying out loud, get one. One of the most useful all-around tools ever made. Anyway
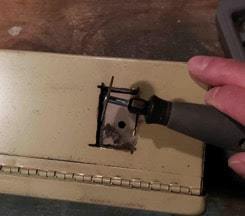
The slots I cut were an inch wide by a couple of inches deep. The one on the hinge side (shown) isn’t actually a “slot,” but rather a rectangle. The theory is that the top and bottom slots will accept the electric cable in from the campground outlet and out to the rolling motel room. The sides will accept the cable to wrap around the post (or however the campground shore supply is mounted). - And here it is with the slots cut
- Here are all the tools you need. The cutoff wheel, shown in the loop of the flex shaft, will leave sharp edges. The grinding wheel, mounted on the Dremel tool, will smooth out the sharp edges. You don’t really need the fancy Dremel tool with the flex shaft, but I recommend it
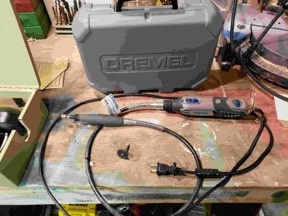
- Don’t forget your ear protection. Once you get to Dave’s age and need hearing aids you’ll wish you had been more careful
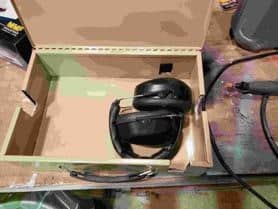
- It works
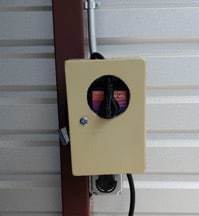
- All locked up, and actually looks pretty good.
- The final step was to use some liquid electrical tape (available at Ace or Lowe’s or Menards or probably Wal-Mart or Target). That should help seal the insulation (this is, after all, a fire-resistant box and had a thin layer of insulation between the two layers of sheet metal) and give a little cushion so that any remaining sharp spots won’t cut delicate fingers.
And that’s enough for now. Next week we take the first 100-mile trip in the rolling motel room. We’ll be reporting on that presuming we survive.