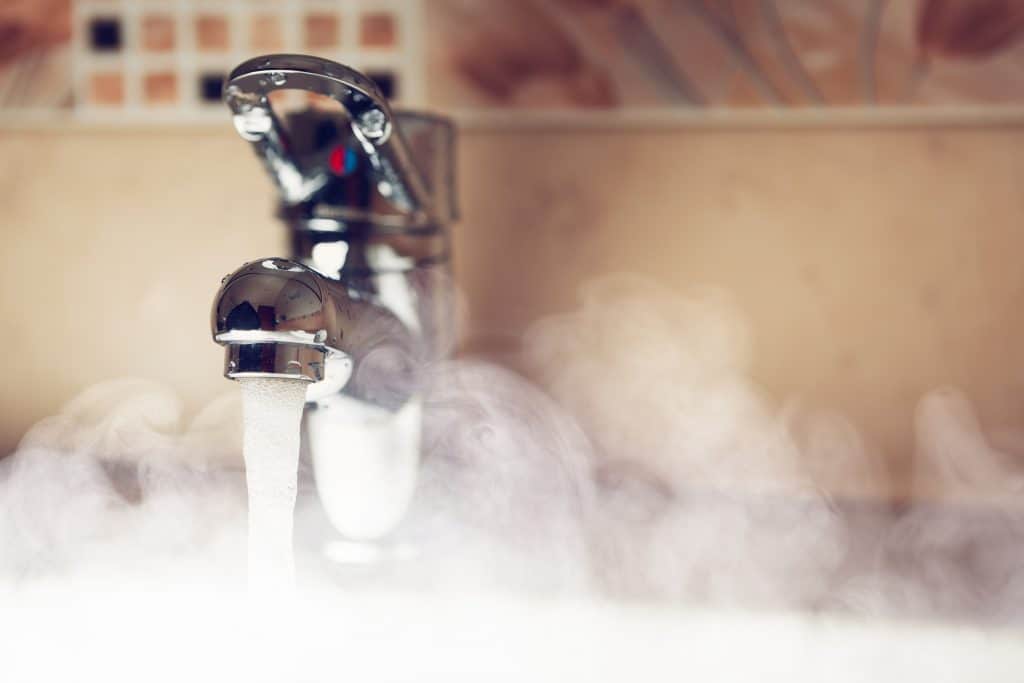
Ever taken a drink out of a hose? A refrigerator? Kind of nice, when you can control it the water flow.
But, what do you do if a faucet in your RV decides it wants to start spraying or leaking water right before you are headed out on the trip of a lifetime? This post will help you know how to quick fix a faucet in 15 minutes or less. Start the timer. Here we go.
Before You Begin
Before we go any further, it might be good to cover some time-saving tips. Be a boy scout and always be prepared, or at least know what you need before you start tugging, pulling and replacing– at least that is what my grandma told me about hip replacements and Botox.
It may be disappointing that your seemingly brand new RV is leaking, but a nearby hardware store should have what you need. Like plumbers tape, adhesive, extra screws and a candy bar while you work.
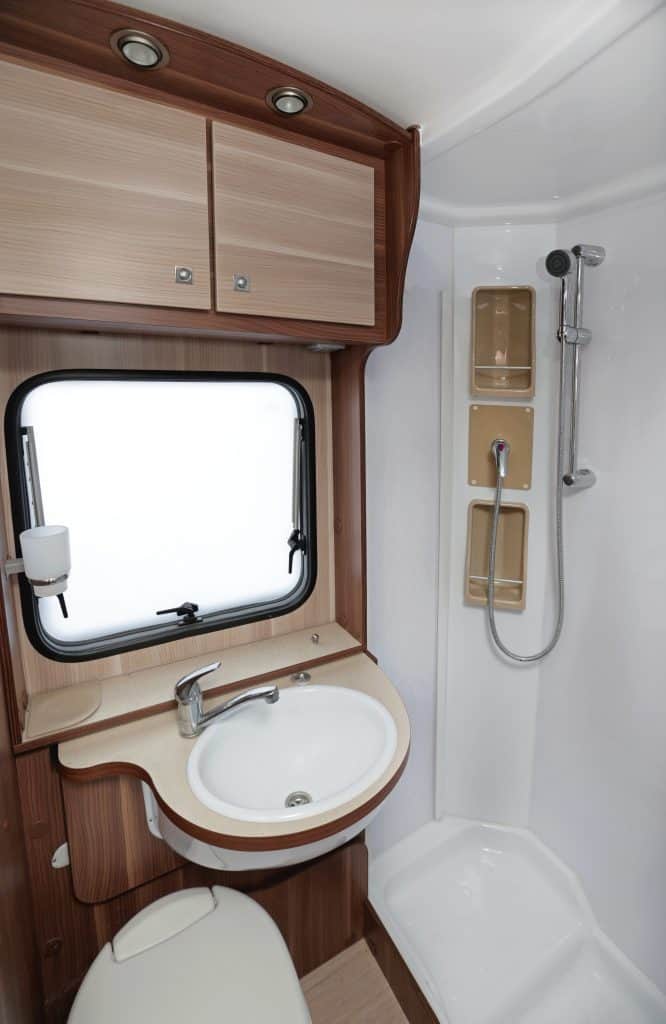
Before you start dismantling everything and losing screws, definitely make sure the faucet will reach the hoses underneath the sink to connect to the hot and cold water valves.
However, most faucets and fixings are standardized so they should easily fit into each other without needing to really record what brand or dimensions it is.
If for some reason the faucet doesn’t reach in length to the hoses, there is no need to panic. Most hardware stores sell plastic extenders that will fit on the bottom of the faucet to help make up the difference. The plastic extenders screw on really nice and will connect with those valves.
1. Turn off the water and other energy sources near the faucet
Nothing is worse than getting sprayed with water when you are fully dressed! I would highly suggest making sure that your bathroom water supply, or where ever your leaky faucet is located, has been turned off. Really!
A helpful tip for making sure your pipes are empty of water would include releasing pressure from the pipes by just flipping on the sink and letting the water drain for a minute.
As a safety precaution, it would be wise to make sure any other outlets or energy sources are turned off and put away. Not that faucets or sinks have features that contain live wires running through them, but better safe than sorry and you won’t get any electric burns either from the sink or a nearby appliance.
2. Remove Hoses from Underneath
The first step in replacing the faucet is to unscrew the hoses that connect to the faucet. Keep track of what hoses go where. The faucet hoses may not be long enough to get them mixed up anyway, especially if they are color coded, but you don’t want hot water coming out if you were expecting cold and vise versa!
Most of the parts on the faucet and around it at this stage don’t need tools to unscrew them–probably just your bare hands and some grit for now!
(Here is where we hope the water is off!) Keep track of where you put what screws from this point on. You will need them to finish installing the last bit of your faucet.
3. Unscrew some more!
Remove bolts and other pieces that keep the faucet from being removed from the countertop. You will most likely need your toolbox here unless you’re a pro and can do it by hand. This should take a minute or two to remove the few screws and bolts keeping your faucet in place.
I personally try to just put everything that belonged to the right side hose on the right and every screw or bolt to the left. It helps when we will need to put everything back together at the end and won’t have any jumbled parts.
5. Replace and Return
Once you have removed the faucet, kept track of those pesky little screws, put your new faucet into the counter-top holes where the old one was.
Depending on the sink, there may have been something sticky to keep the faucet in place, you will want to remove the extra gunk and silicone from off the surface of the counter so that the new faucet will stick to the surface better.
By doing this, you will make a better seal on the counter and prevent leaks from happening at the top and your faucet won’t pop off if you go off roading.. or if Uncle Jim is driving.
Once you actually put the faucet into the holes, position your faucet correctly, sometimes you see a faucet too close to the sink or too far away making that area a splash zone. So this next part you’ll want to just be mindful of the positioning before you put everything back.
6. Tighten it up!
Now, just do all these steps backward to make sure it’s on well! Just kidding, but you will have to put those screws and other hoses back where they came from! If needed those rod extenders should just come in handy in helping you put everything back on right.
Screw the faucet into place, first. You may want a little bit of that plumber tape to help make a secure fit before you put the extenders or hoses back on (just to make sure there are no leaks getting past you.) Note, don’t put on the fittings before you put the faucet through the countertop… it won’t fit.
Attach the hoses to the right faucets. Your sink and faucet should be fully functional and ready for an adventure at this point! For one last security check the faucet and hoses for leaks by slowly turning on the water.
Watch and feel for any liquid that would be coming out of places you wouldn’t want. For example, check around the edges of the faucet and where the hoses connected to the faucet underneath.
How is it Still Leaking?
If your faucet still isn’t quite working with no water coming out at all or if it’s leaking all over the place, turn off the water. Then check to make sure everything has been securely tightened.
If you’ve already strong-armed the whole thing twice, some handy people use that plumber’s tape to fill in the gaps. Be sure that the fittings and the sink faucet your working with fit well. You should have to be breaking fingers to get the pieces to all fit.
Good luck!