Good morning, Campers! So today I am going to discuss a very important topic: that of leveling your camper. Aside from the fact that you just want to feel level in your own living space, there are actually more important reasons why you need to keep your RV level. These have to do with your own safety and so that your RV works properly.
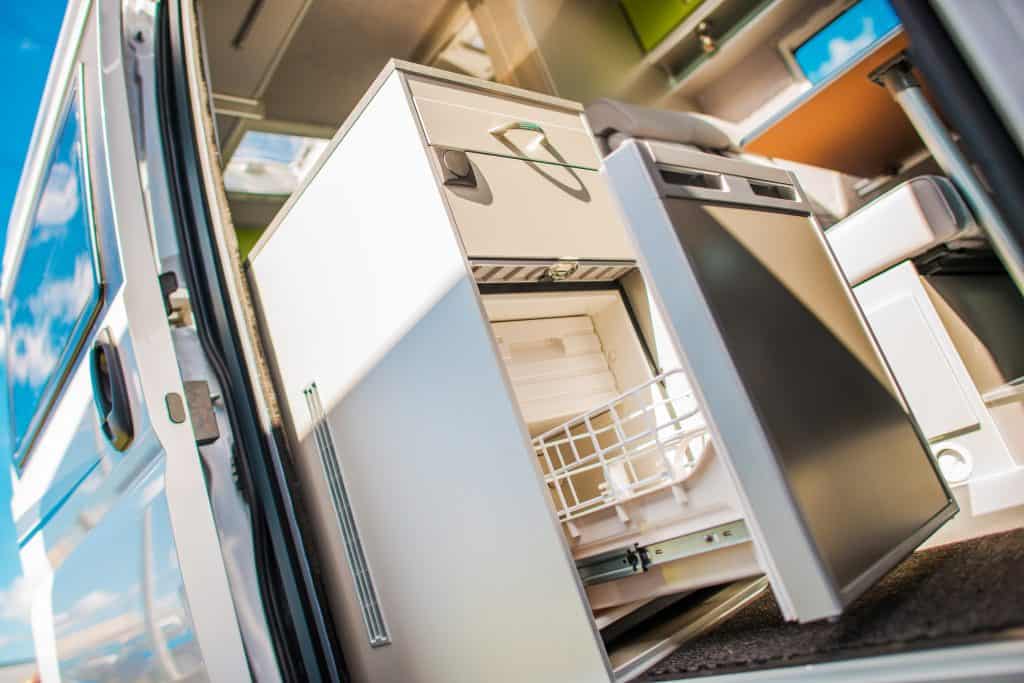
So, why do RVs have to be level? The refrigerator in your RV needs to be level to work properly. Serious and permanent damage can come to a refrigerator that is tilted more than three degrees off from being level. Aside from the refrigerator needing to be level, the practical reason is that an unlevel RV is annoyin to sleep in.
As a kid, I fell out of our tent trailer in the middle of the night (feet first, thankfully) because it was way off center! Since an RV is constructed differently, no one will probably be falling out while they are sleeping, but I still recommend being level for cooking, sleeping, showering, etc. Leveling your RV is easy. Today I will teach you why your fridge needs to be level, and then we will go into my tips for setting up your RV faster.
Why The Fridge?
There are serious technical problems that can occur if your refrigerator is more than three degrees off kilter for more than a few hours. Basically, a refrigerator’s job is to pull the heat out of the air inside the fridge. It does this by using a chemical called a refrigerant that picks up heat easily.
When the air from inside the fridge is passed around the coils holding this chemical, the chemical absorbs the energy. This process of absorbing the energy of the air causes the air to cool down on the inside, and the refrigerant to expand and turn into a gas. It is then pumped into another round of coils by a refrigerant pump. Except now, these coils are on the outside of the fridge. These outside coils are called condensing coils because they give the gas a space to cool down and condense back into a liquid.
Air conditioning works in a similar way, and this is why the big fan outside your house is called a “condensing unit.” It is where the refrigerant chemical gets rid of all its energy and condenses back into a liquid. If you put your hand near the outside coils of a fridge or freezer, then you will notice that there is heat coming off of those coils. That means that the energy from inside the refrigerator is successfully being brought to the outside.
Where this all becomes a problem for a refrigerator is when the fluid can’t move properly. If an RV is parked on an unlevel surface, then the refrigerant fluid has likely all moved to one side. If it all moves to one side it can cause the refrigerant pump to be starved, and it won’t be able to move any refrigerant. If it all moves to the other side, then it will get flooded.
Starving the pump is really the situation that causes all of the major problems. When the pump gets starved, all of the refrigerant fluid remains in place. Some of the fluid can then overheat. When that happens, small crystals precipitate out of the solution. This is really bad.
These small particles can block the passages of the fluid system, causing even more overheating. These particles do not re-absorb into the solution once they cool back down, meaning that the damage done is permanent.
So to avoid this whole situation, you need to pay attention to how level your parking spaces are whenever your refrigerator is turned on, and once you get to wherever you are going, make sure you are camped level.
How Much Is Too Much?
You might be wondering, “how much
If you are boondocking, then this is an important factor as you will want to make your batteries or propane last as long as possible. So usually it is just best to get level from the beginning.
How To Get Level
To be honest, if it feels level to you, then it is probably level enough for your fridge to operate without encountering any problems. But if you want to get more precise, here we will talk about how to quickly level an RV.
Install A Sticky Level
The first step to leveling an RV is to go and get a level. I know, who would have thought? You can use a traditional carpenter’s level if you really want to, but the best thing to do is get one of those cheap RV levels that stick to the side of your RV. You will want to get two of them, one for making sure that the front-to-back axis is level and one for leveling the side-to-side axis.
When you go to actually install them, first make sure that the surface area where you are installing them is clean and dry. Then comes the most important part: You need to install these levels so that they are level to the RV.
Use a normal carpenter’s level during the step, just to be sure you are getting it right. Using some horizontal edges or lines on the outside of your RV as a guideline can also be helpful. Park on a flat surface, such as a parking lot, to do this step.
Lay your level on a flat surface, with the level parallel to the direction of the RV (In other words, with the level aligned with the front and back of the RV). Preferably, you would lay your level right in your fridge. If for some reason you feel that your fridge is not level, then use a flat surface, like a nearby countertop.
Once you are level, and your carpenter’s level confirms it, then you can go ahead and stick the level on the outside of the RV. Make sure that it reads “zero” on the level at that angle before you stick it on permanently.
Remember, this level needs to go on the side, the same direction your level in the RV is pointing. Once the level has stuck, turn the carpenter’s level so that it is now aligned with the side-to-side axis. Once it reads level, go ahead and put the other sticky level on the front or back of the RV (keep in mind that you might have to do some moving around in the RV to find the perfect level spot).
Now you have some levels installed! This will dramatically speed up your leveling process once you get to camp. The extra time spent doing this before you go will be well worth it every time you get to camp and don’t feel like leveling out the RV.
Find a Flat Spot
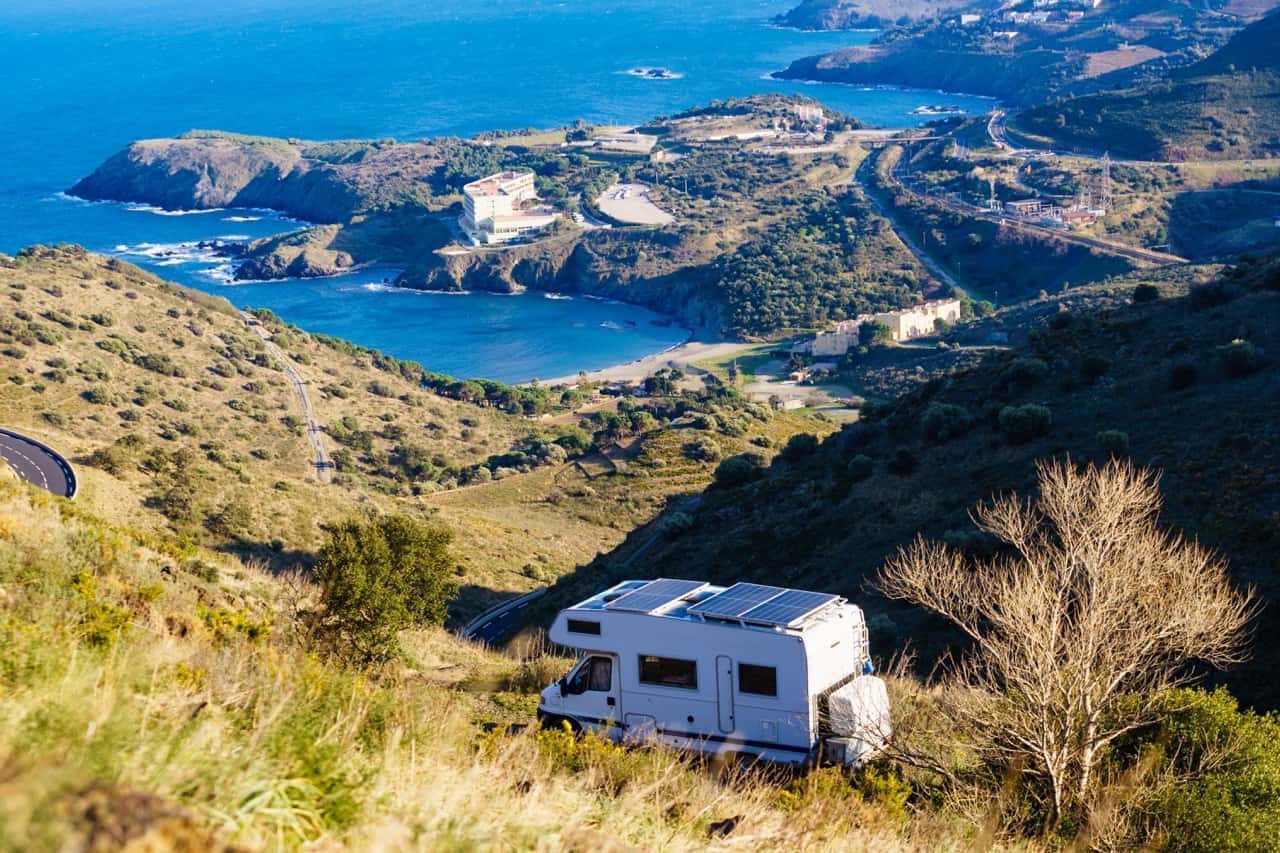
Your quest for a level trailer can be greatly aided by choosing a flat spot to park it. If you are in a campground, then chances are that the parking spots are already pretty flat. If you are boondocking, however, then you are out in the wild and there is no guarantee that the place you are going camping will even have any level spots.
Even if you find a spot that looks pretty level at first, it can be quite off-balance. Really, you should plan as though it were a fact that the place where you will set up camp will not be level. It does, however, help your cause to select a spot that is as level as possible to start off with. So do look for a good spot.
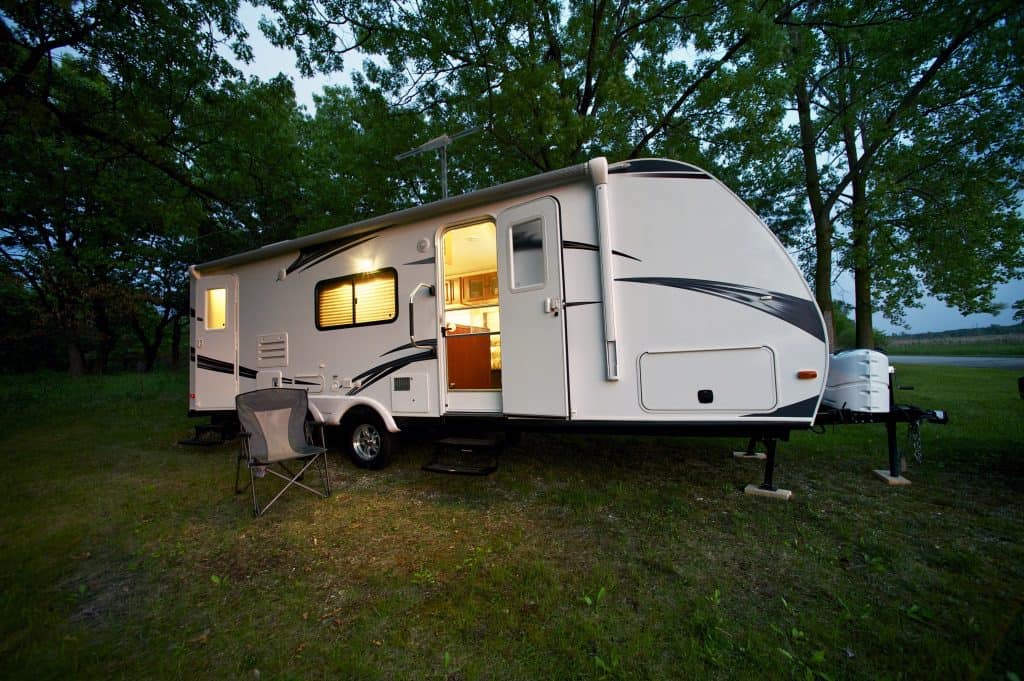
Keep in mind that you also need to be prepared if you are planning on camping at a campground. It’s a nice thing that most campgrounds are usually pretty level, but it is in no way guaranteed that the ground will be level where you are camping.
Even if you have been there before, the wind, rain, and snow and freezing temperatures cause the ground to change shape year after year. Since you never can be sure until you get there, prepare as if you knew that the campsite will not be level.
Get Level
If you want to do this fast, have a few people from your group get out and step away from the RV. Double check to make sure that they do step away from the RV and maintain a safe distance. Have them keep an eye on the bubbles in the levels you stuck onto the outside of the RV before leaving town.
Keep the windows down and listen to their observations. Move forward or back until the RV is exactly level. Keep in mind that you need to be checking both levels to make sure that the vehicle is level on both axes.
If the site is not very level to begin with, you will probably have to end up using Lego-like blocks (called Lynx Blocks) or wooden boards of some kind to raise one or two or three corners. Be sure to have some blocks and boards on hand to be able to make these adjustments.
The traditional way to level out an RV is to use said lego blocks or wooden boards to raise the lower side. You place them on the ground on the side you need to raise. Then, you roll the RV onto the lego blocks (or wooden boards) and check again to see if you are level. You then have to repeat the process until you have it just right on both axes (the front-to-back axis and the side-to-side axis).
I would like to inform you that there is a faster way, thanks to a new wheel-ramp leveler someone invented. These are called Andersen Levelers. These are so nice! An Andersen leveler is like a wheel chock that progresses slowly. And because it is curved, as you move farther up the ramp, the tip will curve off the ground.
This is important as it will give you some space under the leveler to put a real wheel chock. Be sure to put this traditional wheel chock in underneath the leveler because that is what helps lock the RV in place.
This saves time because all you need to do is move forward or backward to raise or lower the vehicle. If you need to raise the left side a little more, just more the RV a little more. If you need to move just a little further down, just move the whole vehicle an inch forward.
A lot of people like these because it removes the need to pull off of the blocks/boards, put another one on, pull back on, pull off again when you realize that it’s not right, put another one on, and so on until you get the thing level.
Whether you are using the lego-style Lynx blocks, wooden boards, or the new-dang-fangled Andersen Levelers, it is very important that your wheels are centered on the surface of these items. You cannot just leave a tire dangling off of the edge.
Doing so will put more pressure on the walls of your tire. This is bad because the walls just happen to be the weakest part of the tire. You do not want to park in a way that puts pressure on them, as that is a sure way of shortening the life of your tires. So park with the whole tire on the board and none of it hanging off.
Now, once you have gotten your RV level, congratulations! This is a small step that will save you big problems later. Your fridge won’t get permanent damage from not being level, your food will stay on the table, you won’t feel drunk while walking around, and you definitely won’t fall out of the camper onto the ground!
The next step is to chock your wheels and set up your stabilizers. Stabilizers are the metal leg supports that come down from the RV to keep the whole thing from rocking around once parked. Note that you can’t really use your stabilizers to level the RV, they just help keep it level and stable once you have already leveled it using the above methods.
So as you can see, there really isn’t too much that goes into leveling your RV. By leveraging the people power in your RV, you can make quick work of the whole process of setting up camp (remember, many hands make light work). Take some time before you go to plan on how you will level the vehicle, whether it be by wooden boards, Lynx blocks, or Andersen Levelers.
Remember, just because you are camping at a campground does not mean that the ground will be perfectly level. I have camped at campgrounds where the ground was honestly a little too not level (I refer you to my falling out of the trailer while asleep story above). Take the time to get prepared now, and you will be more confident and happy by having less surprises. Happy camping!
Related Questions:
How steep can a slant an RV be parked on and still be leveled out? This will depend on the exact model of RV you are driving, but I wouldn’t try too hard to push its limits. As long as your stabilizers can still touch the ground, then I would assume that is ok. But any more height than that would be pushing it too far.
How expensive is the equipment mentioned in this article? It totally depends. Wooden boards can be found for free from those who no longer need them, the fancy, newer Andersen Levelers cost about $40 per unit on the Internet. Normal Lego (Lynx) blocks are the most popular option for the average camper. These cost about $30 for a ten-pack, so this is probably your best option if you are looking to save money, and the are more versatile than an Andersen Leveler.