The travel trailer virgins are picking up their new rolling motel room today.
Yes, it’s Friday the 13th. Yes, the thermometer in the mirror of the Yukon says 95 degrees. Yes, there’s not a cloud in the sky. Yes, the humidity is about 87 percent. Yes, as it turns out, that map Pam showed me in one her RV blogs that shows a significant portion of the continental United States, a portion for which a good first order approximation of absolute center is where I’m sitting, as the area where “thin soup passes for air” is scientifically accurate. Well then, let the maiden voyage commence – –
Last Minute Hang Ups
8:14 a.m. – the phone rings
“Pam, this is Rick from the dealership. That TV mounting bracket you gave us won’t fit.”
The bride: “What do you mean won’t fit.”
Rick: “Won’t fit.”
The bride: “What do you mean won’t fit.”
Rick: “The holes don’t line up.”
The Bride: “What do you mean the holes don’t line up.”
Cut a couple of yards of that conversation and you have it. Turns out, the wall mount for the new 24” TV purchased specifically for the travel trailer’s bedroom requires a mounting bracket that fits holes on a 4” by 8” spacing. The bracket we got, which Amazon assured us was the right one for the application, has a 4” by 4” pattern (actually, as Dave will find out in due course, a VESA (whatever that is) standard of 100mm by 100mm. This will make sense to those of you old enough to have smoked (or the eleven of you who still DO smoke) since a 100mm cigarette was a reasonably good (and handy) way to measure 4”.
So, Dave is detailed to head for Wal-Mart (the local Best Buy store not opening until 10:00) to acquire the proper VESA 100mm X 200mm bracket and deliver it to the dealership. We won’t address the question of why the dealership, which had had the TV and bracket for three days had waited until D-Day to install things.
Dave: “Hey bride, where’s the key to that hitch receiver lock. I want to make sure it’ll come off okay.”
Pam: “Hanging with the other set of Yukon keys.”
Dave: “Where?”
Pam (with audible eye roll): “HANGING WITH THE OTHER SET OF YUKON KEYS!”
Dave: “Found ‘em.”
Back a few years ago Pam had found one of those receiver covers in the shape of a sea turtle which had become a present from the doting husband and has since been decorating the rear end of the Yukon, secured in place by a Master lock that looks to be up to the task of holding the Super Max prison in Cañon City, Colorado under full lockdown. Uh oh. Problem here. The key won’t go in.
Looking closer at the receiver lock there’s the appearance of white stuff, which Dave takes to be some residue of some road chemical. The key hole is blocked by the gunk. No problem. As a once-upon-a-time small engine technician, Dave is familiar with rusted-on stuff. Back to the house and down into the basement (15 steps) for the ever-reliable PB Blaster and a can of aerosol dry lube (with that ever-reliable super slickery stuff, Teflon). Upstairs (15 steps), stop at the upstairs toolbox for a hammer, and back to the Yukon.
The first shot of the PB Blaster (that super rust eating stuff that NEVER fails) allows the key to be inserted. But it won’t turn. Still not worried, Dave hits it with another blast of blaster, blasting his right shoe in the process. DAMMIT! Now the hammer. You don’t want to hit something like this too hard. It has a rubber cover that will almost certainly be damaged if you hit it too hard. So it’s “tap tap tap” not “BANG BANG BANG.”
All the tapping accomplishes precisely zero.
Back inside.
Dave: “Are you sure this is the right key?”
Pam: “That’s what the tag says.”
Dave: “Are you sure?”
Pam (another eye roll): “YES!”
So it’s off to Wal-Mart for the new TV bracket. Maybe the vibrations of the drive will help the penetrating oil, well, penetrate. At the Wal-Mart parking lot try the key again. Nope. So into the store and find the TV wall bracket place. Hmmmmmm. Might as well find automotive and get another receiver lock because it looks like this one is going to die.
Picking up the Trailer
Found Rick at the dealership and delivered the bracket. While I was there, asked if they had a cutting torch in the back. Explained the problem. “Oh, we’ll get it off when you bring it in,” says he, quite confident.
Back at the house now, discussing the plan. Dave had intended to go get the Yukon fitted with the new super hitch, get trained, and then off to the campground (4.4 miles from the dealer) to see how much we remembered and how much we forgot (the smart money was on forgetting being the most common). Pam wanted to fill her Honda CRV with stuff and take both cars. Turned out, she had the better idea. Off for a carb loading breakfast, and then back to the house.
Anticipation building.
The technical guys take lunch from noon to 1:00 and Dave arrives at the dealer at 12:50 p.m., the sea turtle still firmly ensconced in the receiver.
Rick: “The trailer’s around back, inside. Bring your Yukon around and we’ll get started.”
Around back Rick directs me to back up and get more or less lined up with this GIANT, HUGE, OVERSIZED, UNBELIEVABLY MONSTROUS THING in the garage.
Dave: “This ain’t right. Where’s the one we bought. That was 26 feet. This is what? 50 feet? 75? A significant fraction of a mile?” Pam kept telling me it was 30 feet alas she was right!
Rick (smiling knowingly): “No Dave, this is it.”
Dave: “Can’t be.”
So I pace it off. Like anyone who has been through basic training, I have a pretty reliable 30 inch pace. So I go to the front of the trailer and start. Left (another hangover from basic training), right (5 feet), left, right (10), left, right (15). Well I’ll be. Right at 30 feet tip to tip.
((gulp))
Rick introduces me to Duane who is the head wrench.
I start the conversation by pointing out the problem with the receiver lock. Duane, in turn, calls over a minion and the fun begins.
First he tries the key and Dave is hoping desperately that, at this point, it doesn’t work or he’ll look like a complete idiot.
Hope realized. It stays locked.
Then the hammer.
No good.
Bigger hammer.
No movement of the lock but now the key is broken off.
Smiles all around.
BIGGER hammer – two solid smacks and pieces of Mister Master lock are scattering like roaches when the lights come on.
Satisfied smile.
Now begins the actual training.
Getting Trained to use the new Trailer
Duane is a methodical kind of guy and he starts at the front. Note: Pam has been reading up on RV sites so she is really understanding what the mechanic/trainer is talking about. The trailer has an electric drop leg that will raise or lower the hitch. He shows us how it works.
Two 20 gallon propane tanks with a complicated system of plumbing. Use one, he tells us, then when it runs dry you can use the other and get the one that is now empty filled. This gauge (points) will show green when there’s gas, red when there ain’t. The trailer doesn’t use much gas except if you run the furnace. Then it really sucks the propane down. Got it? Dave nods. Pam states it has to be really cold for me to turn the furnace on anyway as we stand in 95-100 degree heat.
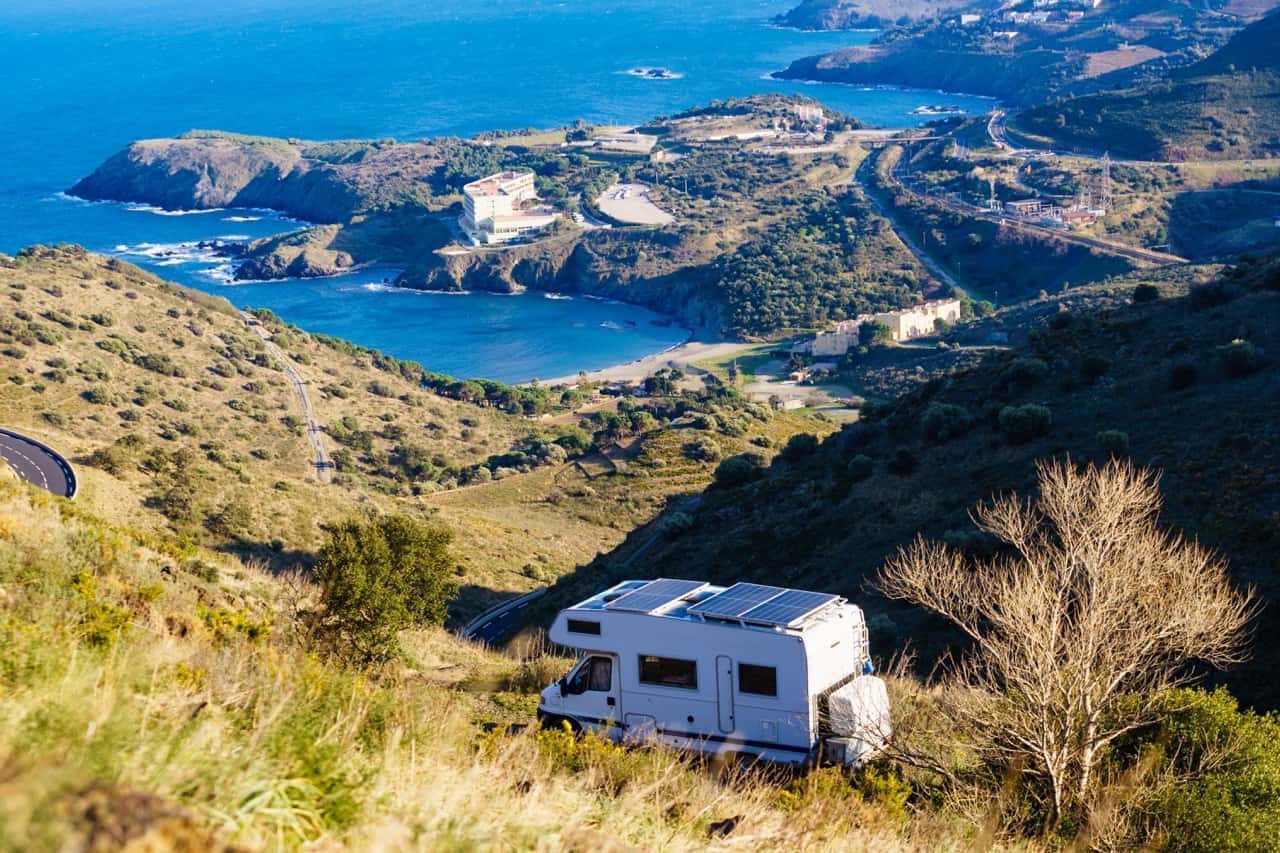
The battery (surprisingly small to run something SO large Dave thinks) is a 12 volt, deep cycle style. It charges from the 7-point connector when moving, or from this (points) little box when we’re plugged in. This (points again) is a connection if you want to hook up a solar panel. (Dave thinks – that implies we would be somewhere where we don’t have electricity, water, sewer, cable, WiFi, and a nearby restaurant.)
Next is the “basement,” storage that, it turns out, is under the bed. A simple thumb latch on one side of the door, and a keyed latch on the other. A neat magnet holds it up so it doesn’t drop on your head when you’re getting something out or putting something in. Duane tightens up the locking latch while we’re there.
Now to the good stuff.
First stop is the water inlets. This one, he explains, is to fill a tank you will carry with you when you’re off in remote areas (Dave winks at Pam). This one hooks you up to the city water supply if there is one at the campground. He highly recommends a pressure regulator since water supplies can have enough pressure to damage trailer systems. He suggests a filter system as well.
Next is the tank drain. There a grey water tank and a black water tank. The grey water is from sinks and showers. The black water is from the toilet. (Dave thinks, but does not wisecrack, “why isn’t it called the brown water?”) The drain hose hooks up here, a simple twist that will lock on these (points) tabs. What we used to call a “bayonet fitting.” “MAKE SURE THERE’S WATER IN IT” he admonishes us, confirming what Pam has read in many places. He points out the “grey water” and “black water” valves, helpfully labeled with “Grey Water” and “Black Water” on the side of the trailer. Black water first, then the grey which will help flush any residual yuckiness.
Electrical connections are next. The extension cord, about six times thicker than any extension cord Dave ever saw, is designed for a 30 amp system. A 50 amp cord, we learn, is much thicker still. Duane explains how it plugs in and then locks with the screw cap. He shows us the plug that goes into the wall, explains that it can’t be inserted into a 50 amp system (although with an adapter you can use a 50 amp system and you will only use 30, however that works – Dave has always been distrustful of electricity (or anything else he can’t see but can hurt him).
Here’s another storage area, very narrow, where the box for the 50” TV sits.
This brings us to the refrigerator access. Turns out the refrigerator is a 3 way electric or gas system that will run on electricity if it is available or gas if not. “Is the gas a refrigerant?” Dave asks. No, it feeds a flame. Huh?? Okay, some Google research required here because this MAKES NO SENSE! The water heater (NOT the hot water heater because, well, why would you want to heat hot water?) is next. If the pilot blows out when traveling, as it can, then here is how your relight it.
Oh, here’s the exhaust for the water heater and you really want to get a screen for this (over at our parts department) or sure as the world you’ll have mud daubers plugging up everything.
That brings us to the back of the trailer where about all we need to know is we need to put the license plate on (Dave groans, the license plate is at home).
Not much to see on the right (assuming the hitch is the front and you’re looking back to front). That’s the awning. These are the steps. The rail for the steps folds this way for traveling. There’s this side’s entrance to the basement.
Now inside. This button operates the awning. This button operates the slide. These buttons are lights. This is your level indicator for your tanks. There are sensors at about ¼, ½, and ¾ full levels and it’s a simple system. When the water level reaches them it makes a connection and the little light lights up. Push this to check black water levels, this for grey, this for the other grey (one for the shower and bathroom sink, one for the kitchen sink).
Here is the circuit breaker and fuse box. If you have an electrical problem, check here first. And keep some spare fuses around. Plenty of 15 amp, a few 20 amp and a couple of 40 amp but if one of the 40s blows you probably need to get in for servicing.
Any questions?
About a bazillion, but honestly, Duane is a good teacher, has been thorough, and we’re pretty comfortable. He even ran through the TV setup, stereo system, how the stove lights. No stone, as they say, left unturned.
Getting Ready to Drive it Away
Outside again, Pam heads to the parts department for that mud dauber gate and Dave to see what awaits in terms of getting ready to actually make the mobile motel room, well, mobile.
Duane mounts this monstrous contraption into the receiver and then walks back to the trailer to measure the height of the hitch. “That’s not right,” he says and then says “oh.” He lowers the hitch down until the trailer is level since he had raised it while showing us how the drop leg worked, and then measures again. “That sounds right,” he intones. Then back to the Yukon where he puts a BIG bolt through the bottom hole of a mounting bracket and measures. Takes it apart, moves it up two holes and repeats. Now he tightens the bottom bolt, tightens some sort of adjusting bolt at the front of the contraption bringing it upright, and then the top bolt.
“Okay,” he says, “let’s hook you up.”
((gulp))
Dave finds Duane in the mirror and starts backing up. Duane is an excellent guide and soon gives the closed fist, universal “STOP” sign.
He shows how to hook the equalizer bars to the hitch. Dave discovers those bars are heavy, but the whole thing is new and they fit easily. Duane carefully counts five links of the chain and then hooks them over the hook mounted onto the hitch, inserting a heavy duty hair pin to make sure things don’t rotate when they’re not supposed to. Repeat on the other side. Then the anti-sway bar, kind of a brake on a bar of steel. Hook here at the Yukon and here at the trailer. Now, use one finger to tighten. When it’s tight that way take it another turn and it’s set. Dave is impressed with this level of high technology.
The breakaway safety cable is routed through the safety chains. That way if the trailer decides it no longer wants to follow meekly and go its own way, the safety chains should dissuade it and the breakaway safety cable will lock up the trailer brakes.
Dave: “Speaking of trailer brakes, how in the heck does this thing you guys put under my dash work.”
Duane: “First, here’s how you hook your seven pole connector.”
Which turns out to be simple. There’s a little keyway so it can only go in one way and then the cap acts as a lock to keep the connector from becoming the disconnected.
Now, to that pesky trailer brake control.
“This is the Jesus bar,” says Duane. “When some idiot pulls out in front of you and you know you won’t be able to stop, yank this to the left and it will lock up the trailer brakes.”
The green light means you’re connected. Rolling the little wheel all the way up is max breaking. All the way down is, basically, no breaking. Duane suggests trying about the middle and then putting the Yukon in Drive and letting it roll forward at idle and then see if the lever will bring you to a stop. After three adjustments, it does.
“All set,” says Duane, smiling.
“What’s your number?” asks Dave, “so I can put it on speed dial.
And that was the training. Now we’re ready to roll.
COMING SOON: Moving, setting up, living, taking down, SWEATING!
See you soon, Pam and Dave