The travel trailer virgins survived their first trip – 86 miles – and first problems – no wifi, no highspeed wifi through the mobile hotspot, TV blew up, water failed (to the trailer, not IN the trailer). It was still fun and besides that, we saw a brilliant side to side leveling system.
According to Amazon (the source of all things), you can get such systems for around $40 to $50. The one we saw appeared to be made of 2X10 lumber and Dave thought that would probably be quite a bit cheaper. Turned out to be under $15. Here’s how.
Preface – The system we saw involved two layers of 2X10s. Since the actual thickness of a nominal 2X something is actually 1 ½ inches (Dave is old enough to remember when that was more like 1 ¾ inches) you obviously will not get a full two inches of lift. If you set your tires on the first level you’ve got 1 ½ inches of lift. Move up to the second level and you’re at 3 inches. Since we are distinctly NOT campers but, rather, users of our portable motel room, if it’s more than 3 inches off we’re probably going to find another place.
The tools needed were a saw and a sander. Well, a drill too to drive a few screws. Dave has a cutoff saw and used that although a standard circular saw (aka skilsaw) would work or, if you have a good arm, a plain old handsaw would work. The belt sander was used to make the bevels but an angle setting on a circular saw would probably work as well. So, let’s do it:
- Go to your local lumber yard and get yourself two 8’ 2X10s. You’ll have some left over so you can stack and glue them for a tongue jack base if you’re of a mind to (Dave did). If you do that, alternate the grain patterns and just glue and screw them together. Dave simply used a scrap to measure across so that the stack is, basically, a laminated cube.
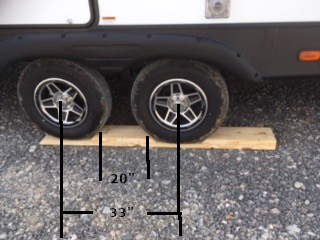
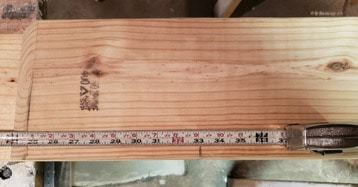
- Measure. There are two crucial measurements – center to center on the axles and the distance between the tires on the ground. On our Keystone Outback 26 footer, those measurements were 33” center to center for the axles and 20 inches between the wheels on the ground.

- Cut
 a piece from one 2X10 to the length between the wheels. For us that was 20 inches.
 - Bevel BOTH ends of that piece using whatever method you choose.
- Now cut another piece to the same length.
- This one, just bevel one end.
- Mark the center of your two small pieces.

- Make a mark on the long board matching the mark on the short one.

- Measure from the mark on the long board the distance between axles.

- Align the center mark from the short board with the two bevels (see 8 above).
- Relax, you’re almost done.
- Mark the long board, starting at the end of the beveled piece on top the distance between the tires.
- Cut off the long board.
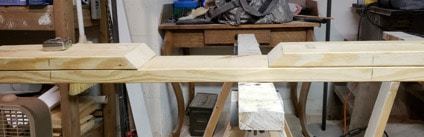
- Bevel the end.
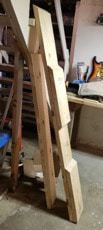
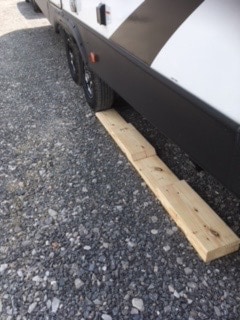
- Lay everything out.
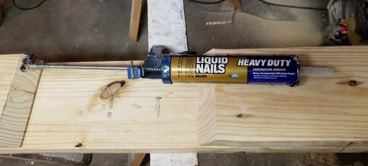
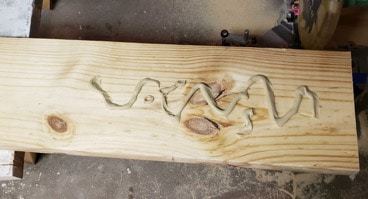
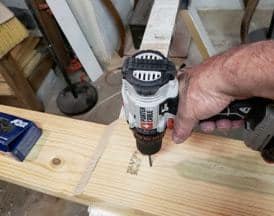
- Glue it together using a couple of screws as clamps (or just clamps if you have them)


- Pat yourself on the back. You just beat the system.
 a piece from one 2X10 to the length between the wheels. For us that was 20 inches.
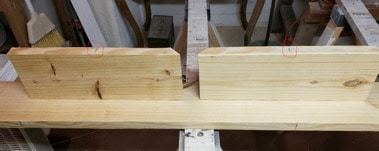
The big question is, of course, DOES IT WORK?!?!
Well…
First, line it up.
Carefully.
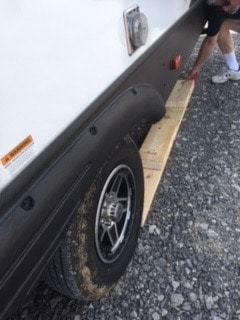
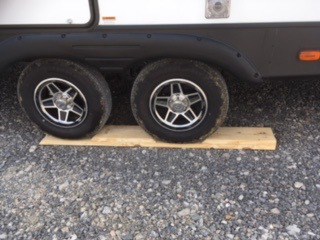
1 ½ inch lift –
3 inch lift –
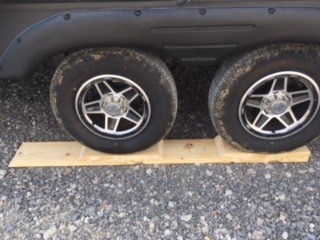
So YES, it worked EXACTLY like it was supposed to and now resides in our basement.
Adding a Platform for the Camper
One more bit of construction was needed.
The bride’s arthritis makes stairs an iffy proposition in any case. That first step onto the trailer stairs was a bit of an issue. So a platform was in order. This was a much easier project. The materials are two 8’ pieces of that artificial deck surface that is supposed to last forever. Caught them on sale at Lowe’s for about $8 a piece. Also, two 8’ common 2X4s.
Dave cut the 8’ pieces into two 48” pieces meaning there were now 4 48” pieces of the decking, One of the 2X4s was also cut into two 48” pieces. The nominal 6” deck boards were laid out and then the two 2X4s on top. The measurement to make the frame exactly fit the decking turned out to be 20 5/8” for the cross members but that might be different depending on the materials you choose to use.
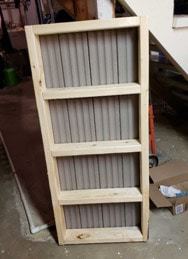
The frame was screwed together as a simple ladder. The deck was screwed to the frame. And voila, a nice platform plenty sturdy for any use and heavy enough that it won’t be moving without significant human intervention. Here’s what it looks like –
The ladder frame is probably overkill but I don’t like flex on things I’m walking on so –
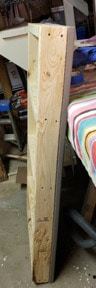
The decking material is thick (and heavy) –
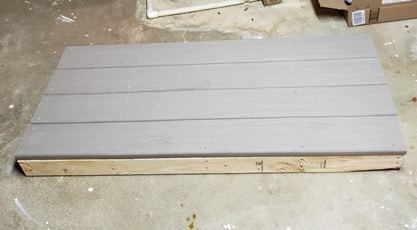
It makes a good platform –
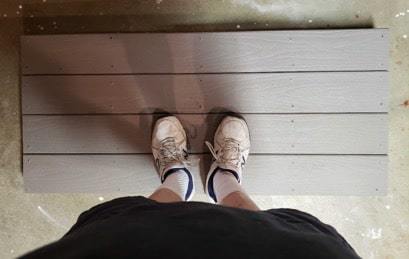
And doesn’t flex even with Dave’s 200 pounds on it –
Okay, that’s it for now.
We’re off to the Missouri Ozarks next week. That will be our final shakedown to make sure Dave (who so far is doing the driving) is okay on winding state roads. Also, we’ll be seeing if that new TV (replaced under warranty) works and how well everything works with the new data program on the cellphones. After that, the next stop is Chattanooga.