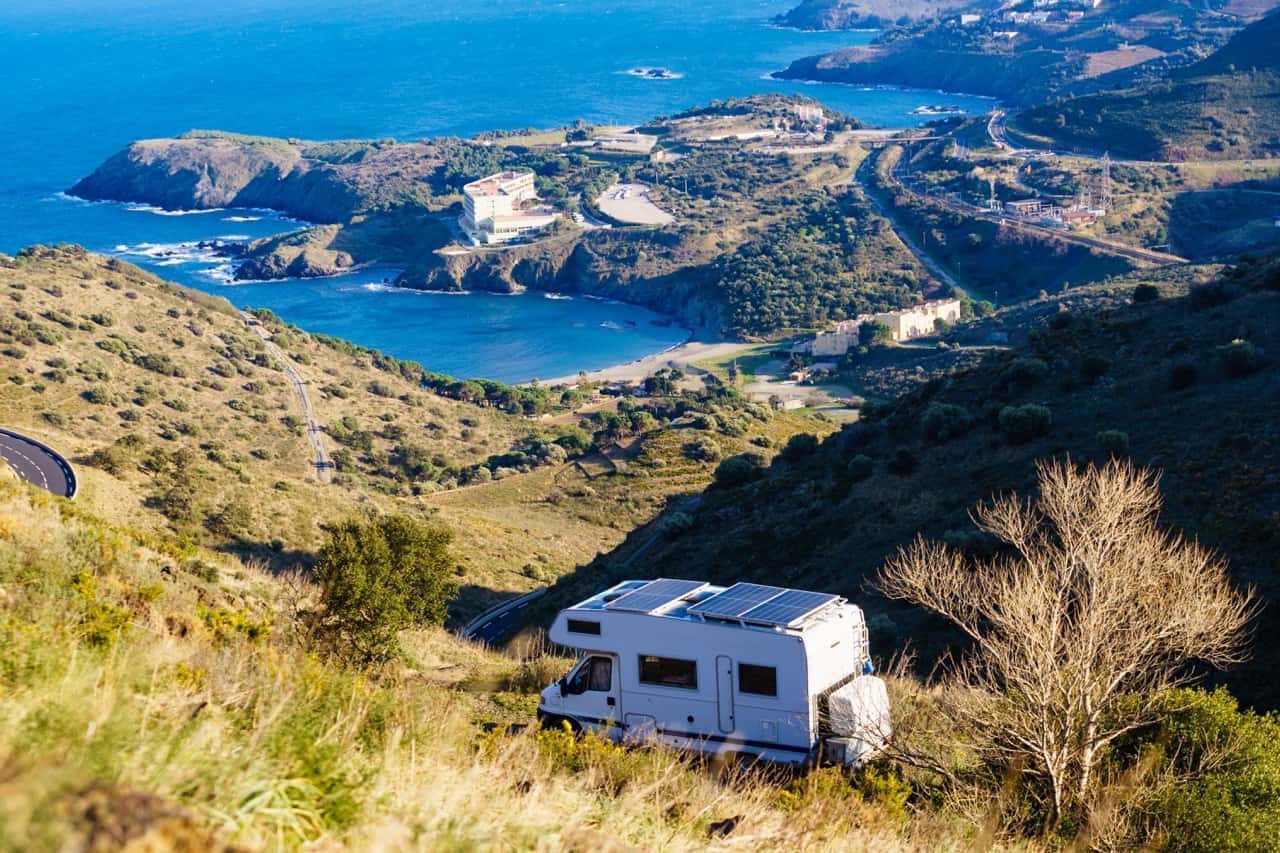
Between driving your RV under the rough tree branches while boondocking or running into vicious rain or hail storms, an RV roof vent can have a lot to go up against. It’s no surprise, then, that they can get some cracks or holes in them from time.
Yes, this can be terribly irritating to fix and not necessarily worth the hassle of filing an insurance claim to cover any of the costs, but I’m here to tell you that it can be much easier than you would think. In fact, I can give you some helpful instructions on how to replace your roof vent in just 20 minutes.
Just A Quick Fix for Your RV Roof Vent
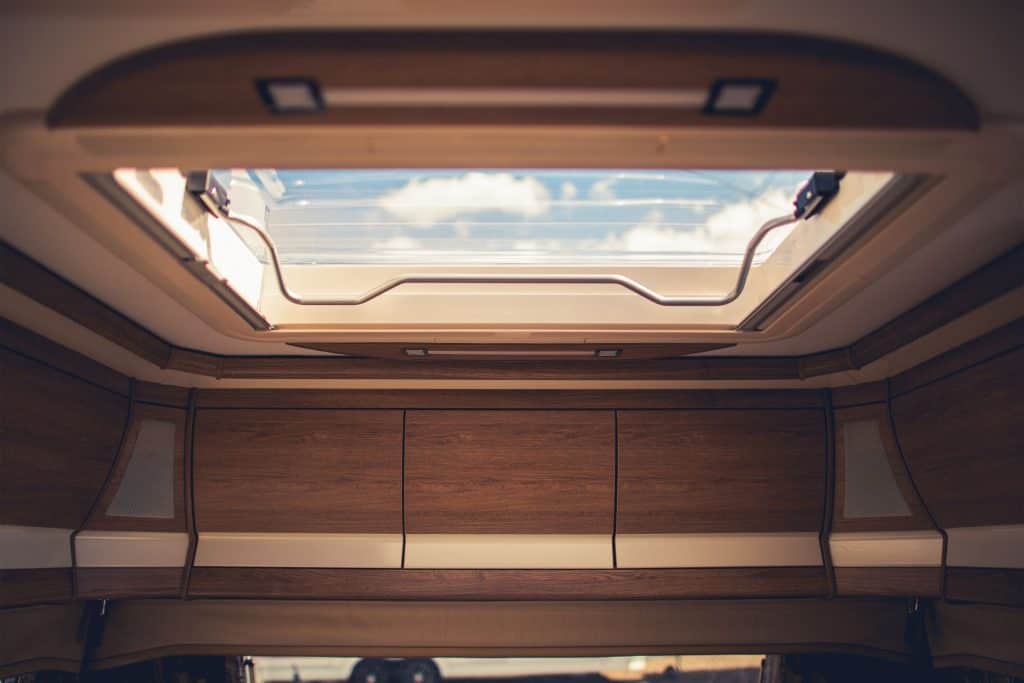
Let’s say you’re out boondocking, and there’s a lot of low branches that keep whacking and scratching your RV roof vent, and then you suddenly hear the telltale sound of rushing air that is never fun to hear when your RV roof vent isn’t actually open.
You go to check your roof vent, and, just as expected, it has taken a brutal beating from the trees over time and has finally cracked.
The worst part? It’s about to start raining. You can’t let all of the rain seep in through the cracks and drench your RV. You need a fix, and you need it fast.
The quick and easy fix that will save you from getting rain inside your RV, my friend, is duct tape. Some also might recommend gorilla tape, but it does roughly the same with temporarily patching up your roof vent until you have time to replace it.
Note: If you do not have a nice roll of duct tape in your repair kit or have no repair kit in general. I highly recommend this article where I list the tools I absolutely have to include in my RV repair kit.
Tools You will Need for the Replacement
- A new RV roof vent
- Flathead screwdriver or putty knife for removing sealant
- Philips screwdriver
- Drill
- Putty Tape
- Dicor Lap Sealant
- Wire cutters and wire nuts (optional)
1. Picking the Right Roof Vent Replacement
Alright. Once you finally get home from your RV adventures or have some spare time to stop by an RV shop of sorts, it’s a good idea to pick up a replacement RV roof vent. Sure, duct tape or gorilla tape can be pretty sturdy against different types of elements and can last for a good bit of time, but it definitely is not meant as a permanent repair.
Ideally, when choosing a replacement, you would choose a roof vent that is as close to the original as you can get, so you won’t have to drill any new holes into the roof of your RV just because you got a different size.
However, if you do choose to get a different roof vent than the one you’re replacing, there is a way to get around the difficulty of the screw holes of the new vent not lining up with the screw holes already in the roof of your RV from the old one. We will get into that later.
2. Removing the Cracked Roof Vent
So, you have your new RV roof vent and all of your tools, and you’re ready to go. Now for the fun part. Or the frustrating part, depending on how tightly the cracked roof vent is sealed and how much patience you have.
If you’d like to start the fun way to get your frustration out on the cracked roof vent, and if it still remains, depending on the amount of damage done, you can start by completely yanking off the cover for your roof vent. Or… you can also calmly remove it in one piece.
Most roof vents are sealed tightly to the RV roof with some sort of sealant or putty. You’ll need to remove this before you can reach the screws beneath holding the roof vent in place. You can usually do this pretty easily with a simple flat head screwdriver or a putty knife.
Once you can actually see all of the screws, you can start unscrewing them from the roof to allow the cracked roof vent to come loose. Hint: It might be a good idea to hold onto these screws to use them for installing the replacement roof vent, so don’t let them go rolling off the roof of your RV and into the grass.
Now that you have the cracked roof vent loose and all the sealant is successfully removed, you should be able to just lift it out.
Note: some RV roof vents also serve as electric fans and may have wires attached. When removing the roof vent, do so carefully so as not to cause any damage to the wires, cut the wires diagonally with a pair of wire cutters close to the roof vent, leaving plenty of space for you to reattach the old wires to the new; and remove the roof vent.
Be sure to pay attention to how the wires are placed as well as which colors are attached to which, so you can install the replacement roof vent properly.
3. Preparing the New RV Roof Vent for Installation
The next step is to prepare the new roof vent for installation. This is actually a pretty easy step that only consists of applying some putty tape along the screw holes that will be facing the roof of your RV. By doing this, you’re ensuring extra strength for holding the roof vent in place.
Hint: putty tape is basically a double-sided tape that will have a nice cover of wax paper to make it easier to use. Save yourself the time and embarrassment by removing this wax paper before putting in the screws.
Note: for those of you with roof vent fans that will run into wires, you will have to deal with the wiring before attaching your roof vent to the roof. To do this, you need to strip a bit of the wire casing, so that you have the copper strands inside the wire to work with.
If the copper strands are being difficult, you can always twist them tightly together, the same way that you would with an unruly string of yarn or thread. Next, you can connect the wiring from your RV with the wires from the new roof vent to by twisting them together like a twisty tie and finishing it off with a wire nut to keep things safe.
4. Aligning the Roof Vent and Screwing it In
Now, before you remove that wax paper and screw the roof vent into place, make sure that it aligns properly with the screw holes in your roof. It’s also important to make sure that you will be putting it in the right way so that it’s facing the right way when you open up the cover later. Believe me, having the roof vent face the wrong way could cause some big issues.
Imagine the cover opening up and facing the outer edge of your RV instead of facing inwards. That could mean having the wind whip it around until the cover is completely torn away from the rest of the roof vent. Believe me, taking those extra seconds to make sure the alignment is right is definitely worth it.
Once you’ve checked that your roof vent will be facing the right way, it’s a good idea to see how the screw holes will line up. You can probably skip this step if you bought the exact roof vent like the one that you are replacing.
If you do find that the screw holes are slightly off, even after adjusting it, you could always take a drill through the screw holes in the roof vent to make new screw holes in your roof to fit your roof vent perfectly.
Now, if you do end up having to drill in some new holes, be sure to fill up the old ones that won’t be filled by screws with a ball of putty tape and sealant to make sure that there won’t be any future problems or leaks in your roofs just because you forgot to seal up some extra holes.
The next step is pretty obvious with peeling the wax paper seal from the putty tape and screwing the new roof vent into place. You can do this the slower way with a Philips screwdriver or the more efficient way with a Philips drill bit and your drill. Really, it’s whatever you prefer.
Even once you have your RV roof vent completely screwed in, give it one last check to make sure that there aren’t any screw holes in the roof that didn’t get filled. This is a good time to fill them up with some putty tape, and you could even cover it up with some aluminum tape to blend in with the rest of the roof vent to make it look nice and pretty if you want, though it isn’t completely necessary.
5. Sealing it Up with Lap Sealant
Alright, I know that the roof vent seems like it should be pretty secure on the roof of your RV with that handy putty tape and all of those screws, but it needs one last thing to ensure that it not only stays in place but also doesn’t leak at all–until the next time your roof vent gets a crack in it, of course. Let’s hope your RV roof vent has a long and unharmed life on top of your RV first though.
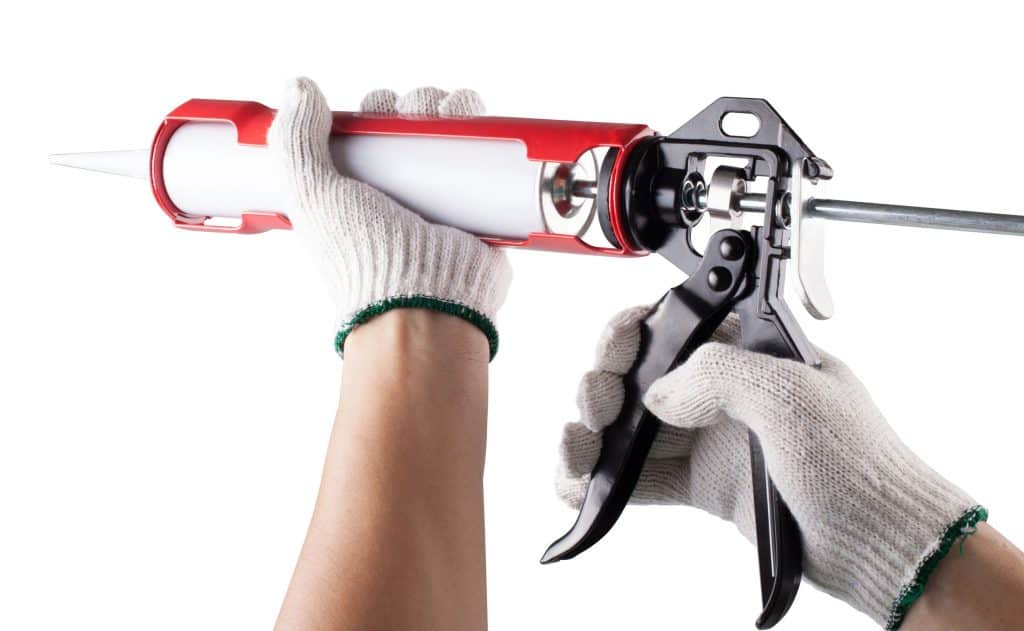
Anyways, this is where the Dicor Lap Sealant comes into play. If you’ve ever used caulk around something like a bathtub as a sort of sealant, this Dicor Lap Sealant is roughly the same, but more durable against the elements. It is also made specifically to make a secure seal along roof edges, air vents, vent pipes, and heads of screws.
My personal favorite is this self-leveling lap sealant from Amazon just because you can spray it on and leave it alone to level out on your own without you having to put in any extra time or work to make it look pretty.
All you have to do with the lap sealant is cut the nozzle to the right size (it might have little measurements on the side of it) and begin spraying along the outer edges of your roof vent to cover up all of those screws. The size of your nozzle is roughly how much of the sealant will come out.
Typically, you will want a bit more than a very thin stream of sealant unless you want to take some extra time and do layers. Really, it’s better to end up having too much compared to not having enough, so it’s okay if the diameter of the nozzle ends up being too wide.
Like I said before, if you get the self-leveling lap sealant, you can pretty much spray it down evenly around your roof vent and walk away. Even as you finish putting the sealant down, you’ll see it start to level out on its own. It should take only a few hours to set completely.
And then you’re done! Wasn’t that easy?
In case you’re a visual learner, here’s a helpful video that walks you through the steps of replacing an RV roof vent.
Other Options
Sometimes a cracked RV roof vent only needs to have the dome or vent cover replaced.
Though this isn’t always an option with all types and brands of roof vents (especially if you have an older roof vent), the Fantastic Fan roof vent does provide the option of roof vent replacement domes, so that you don’t have to take the time (and money) to replace the entire RV roof vent.

It’s worth looking it up online if you can still remember the specific version and brand of roof vent you brought to see if this option is available.
With replacing only the cover, it won’t even take more than five minutes between unscrewing the old roof vent cover, keeping the same screws, and screwing in the new cover.
You will probably need to also detach parts of the rigging from the inside of your RV to make sure that you can still open the roof vent fairly easily. The only catch is that this is only a viable option if the rest of your RV roof vent isn’t also damaged.
Here is a helpful video that shows you how to replace just the cover to your roof vent.


Once the vent is removed, removing the old Dicor after the vent is pulled out is what takes the time far longer than 20 minutes you listed. Took me 1.5 hours to completely clean up ready for new vent. I was told that using a heat gun on low helps remove it. Going up to try that next.
If you have a cracked skylight and are looking for a simpler process to stop any leaks check out Skylight 911 from RV Roof Magic. The sight has products made specifically for RVs. We used their roof coating on our rubber roof about 2 years ago and it has worked well for us.
https://www.rvroofmagic.com/about-roof-coatings.php