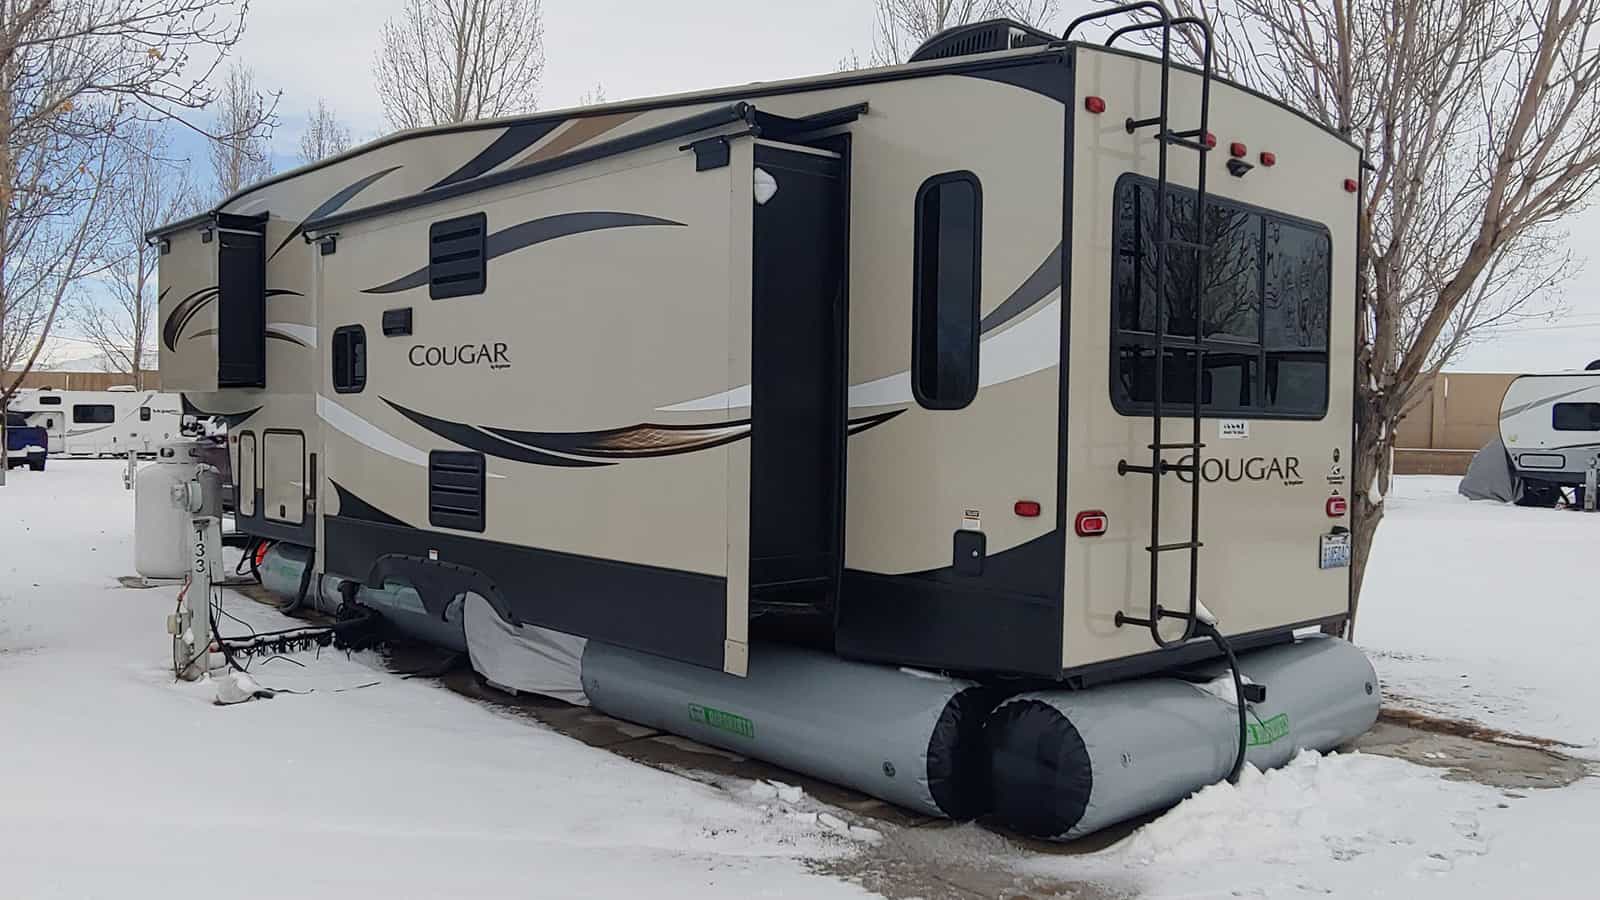
Travel trailers are versatile living spaces that can be pulled by any car or truck with a high enough towing capacity. Their adaptable nature has made them popular with customers who drive a huge range of vehicles. You don’t necessarily need a heavy-duty truck to pull one of these, so it’s less expensive when you can use your current car.
However, this adaptability can create some difficulties and questions for people who want to tow travel trailers. After all, since they can work with so many different tow vehicles, there’s not one standard set of instructions for how to correctly hitch them together. Every setup will involve different amounts of weight and contrasting heights of hitches and receivers.
The hitch of your travel trailer can be adjusted, but the receiver for your tow vehicle generally can’t. So you’re going to have to fit the trailer to match the height of the car. To find the proper hitch height for your travel trailer, follow these steps:
Measure from the ground to the top edge of the hitch receiver. Then measure from the ground to the bottom edge of the trailer’s coupler. Next, subtract the height of the receiver from the height of the coupler. If the measurement is negative, you need to drop the height of the hitch, if it’s positive, you need to raise the height of the hitch.
It can be tricky to match the heights of your hitch with the height of the tow vehicle’s receiver, but the first step is finding out whether you need to raise or lower the setup. Keep reading and we’ll explore ways to adjust the height of your setup, the importance of a level towing setup, and how to correctly hitch your travel trailer to your tow vehicle.
Measuring and Comparing Heights for Hitches and Receivers
The little summary above describes the best way to determine the correct hitch height for a travel trailer. That was a pretty quick explanation though, so here’s a little more detail on the correct way to measure and compare your hitch and receiver heights.
Start by parking your tow vehicle and travel trailer on a firm, flat surface. Use the most level area you can find to avoid any tilting. That would definitely mess up your measurements!
Go to the back of your tow vehicle with a measuring tape. Place one end flat against the ground and extend the tape up to the top, the inner edge of your receiver hitch. Record the measurement to the nearest quarter inch, then roll up the tape and go over to the travel trailer.
Do the same thing again, but this time measure from the ground to the flat edge at the bottom of the trailer’s tongue (or coupler). Again, measure this to the nearest quarter inch and record it.
Now it’s time to do just a bit of math! Take the height of the coupler and subtract the height of the receiver. This equation will give you the measurement that tells you how far the distance between the hitch and receiver is.
If the coupler is lower than the receiver, you’ll get a negative number from this. This tells you how many inches you need to drop the receiver’s hitch. If the coupler is taller than the receiver, you’ll get a positive number. This will tell you how many inches you’ll need to raise the receiver’s hitch.
If your receiver and coupler are at pretty much the same height, then you’re good to go! No adjustments needed and you can just go straight into the connecting process. This is pretty rare for your first time though, so don’t count on this being the case.
Once you’ve found the difference between the two heights, round it up to the nearest half-inch or whole number. Height differences that are less than an inch won’t usually make a big difference in the grand scheme of things, and it’s easier to adjust when you’re measuring with whole numbers.
After you know how much space to account for, you can move on to the process of adjusting the heights of your equipment and hooking everything up.
Accounting for Rise or Drop of Ball Mounts
If you’ve got a good amount of distance to account for between your coupler and receiver, the good news is that you’re not alone! A lot of hitches are designed to be able to adjust to different levels. They ran raise or lower to account for height differences and still maintain the level of strength and stability that you expect from a trailer hitch.
To help you choose the right hitch for your towing setup, you need to do your research first. Make sure that you have an accurate measurement for your receiver height, and thoroughly research any travel trailers that you own, or are thinking about buying. Buying the wrong size and type of hitch won’t help you at all if it can’t compensate for the height difference!
Luckily a lot of receivers for tow vehicles are versatile. The hitches that hook into them often have angled pieces that tilt up. If you need to attach to a lower trailer coupler, you can usually remove the hitch and ball attachment, rotate them so that the angle points downward, and hook up the ball and hitch from that height.
A good example of a hitch like this is the CURT 45036 Trailer Hitch Ball Mount. It comes with a two-inch rise or drop, which can account for a lot of mismatched heights. It’s also designed to fit most standard-issue receivers, though you’ll need to make sure it will work for your specific vehicle before you buy it.
Another type of adjustable receivers come with a series of pegs and holes that enable the hitch’s height to rise or drop. You simply measure the height of your trailer’s coupler and adjust these hitches to match it. These are a little less common to see on the market, but they’re a great option to look into.
A good example of a hitch like this is the MaxxHaul 70380 Adjust Dual Ball Mount. It has 8 different height settings and comes with a set of dual-locking pins to keep the ball mount locked in place. It also has ball mounts on the top and the bottom, which maximize the heights and depths that it can reach.
If you’ve got a considerable height difference between your trailer and receiver, one that that you don’t want to do is buy a hitch that is incapable of height adjustments. This will lead to your towing setup being imbalanced and difficult to handle.
For a more comprehensive and visual guide of figuring out rise and drop, check out this video below. It was made by the Curt manufacturing company, which is a big name in the world of RV and trailer products. They do a great job at explaining what rise and drop is and how you can make the right adjustments for your situation.
It also helps to explain how to find the height of hitches and receivers, which helps expand on the answers given above. And don’t worry, it explains everything pretty quick, so it won’t take all day to watch. Check it out!
The Dangers of a Poor Hitching Setup
Obviously, it can be tricky to correctly attach a travel trailer to a tow vehicle. There are a lot of factors and little adjustments that you need to account for. But it’s well worth it to take your time and be thorough!
If your hitch is set too high or too low, you’re going to have a hard time towing your trailer and it won’t be safe to drive.
If your hitch is too low, it’s going to put a lot of strain on the back of your car. The back bumper could be bent and damaged by this weight and pressure, plus the weight will not be evenly distributed throughout your tow vehicle. The front wheels won’t have as much traction with this method, which will make it harder to steer and control your path of travel.
On the other hand, a hitch that’s too high is also dangerous. If the hitch is too high for the travel trailer, it will tip backward, creating a slanted profile and an unbalanced weight distribution.
You’ll be less aerodynamic this way and your trailer is more likely to catch the wind and begin to sway. Trailer sway is nothing to laugh at and it has caused many devastating accidents.
Plus, if your trailer is tipping back and forth, anything you packed inside it can end up rolling all over the place. This might not be the worst problem of a bad hitching setup, but it can definitely be annoying when you find that all of your furniture and belongings have piled up in one end of the trailer.
A level towing setup will make it easier for you to steer your tow vehicle and trailer, prevent unnecessary drag, help you avoid trailer sway, and keep all of your luggage still and stable!
Attaching a Travel Trailer to a Hitch
Once you’ve got your hitch and receiver lined up at the proper height, you can move onto the actual process of connecting the travel trailer to the tow vehicle.
To begin, you’ll want to line up your car with the trailer. Make sure that everything is aligned for when it’s time to back up. Try to make sure that the ground is as clear as possible, with no tall plants, rocks, or other debris in the way. Place wheel chocks behind the wheels of the travel trailer to prevent any shifting or sliding.
Then use the trailer jack to raise the tongue of the trailer. Have your measurements for the ball and coupler on hand, and raise the tongue to match the height of the ball hitch. Make it high enough that the ball of the hitch can slide underneath the tongue without touching or scraping against each other.
Next, slowly back up your car. Use another person as a spotter if possible. You don’t want to scratch your paint or create a dent with a sloppy backing up job! Park your car once the ball is underneath the tongue and go back to the hitch.
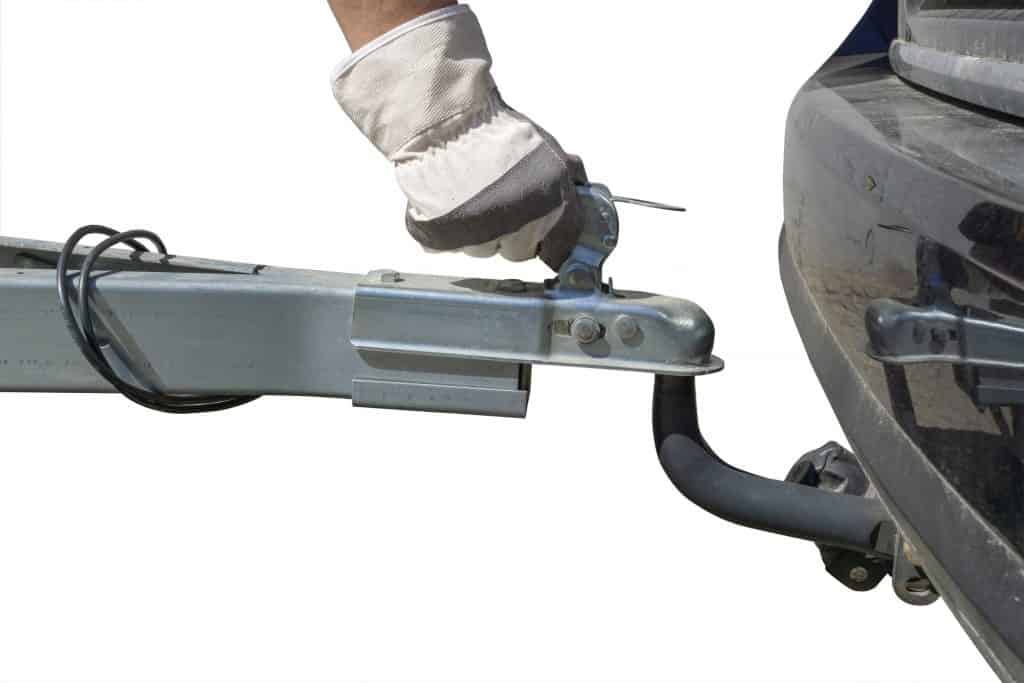
Next, you need to open up the coupler latch on the trailer and use the crank to lower the tongue over the ball hitch. Lower it until they fit securely together.
Close the coupler latch and insert the hitch pin to prevent it from coming loose. Try driving back and forth a little bit to make sure that everything is secured and that nothing breaks or snaps.
If you’ve got a simple ball mount, then you’re good to move onto the final steps like attaching safety chains and connecting your brake lights. But if you’ve got a weight-distribution hitch (which is generally for heavier trailers and includes extra metal bars) read on to the next steps.
Steps for Weight Distribution Hitches
The next thing you want to connect is the spring bars, which help to distribute the weight of the trailer. To start this process, use the trailer hitch to raise the tongue of the trailer a couple of inches. Take one of the spring bars and attach one end to the corresponding opening on the vehicle hitch. Swing the bar out until it aligns with the brackets along the edge of the travel trailer.
Lower each of the brackets and loop one link of the spring bar chain over the hook. Do this with both sets of springs bars, one on each side of the trailer. Once everything is hooked up, you can fold the hinges up and lock them into place using safety clips.
Once the spring bars and ball hitch are attached, you can retract the tongue jack to place the weight onto the tow vehicle. You’ll also want to retract the tongue jack to prevent any scraping against the road once you’re driving.
Final Steps for Hitching
Next up, you’ll want to attach the safety chains. These provide additional connection points and strengthens the bond between the vehicles. Attach them to permanent pieces of the tow vehicle so that they don’t jostle loose or rip anything fragile off.
The safety chains can either be attached in a crossed X pattern or attached parallel to each other. Make sure that you leave enough loose sway in the chains to permit sharp turns but also keep them tight enough to avoid any dragging or scraping.
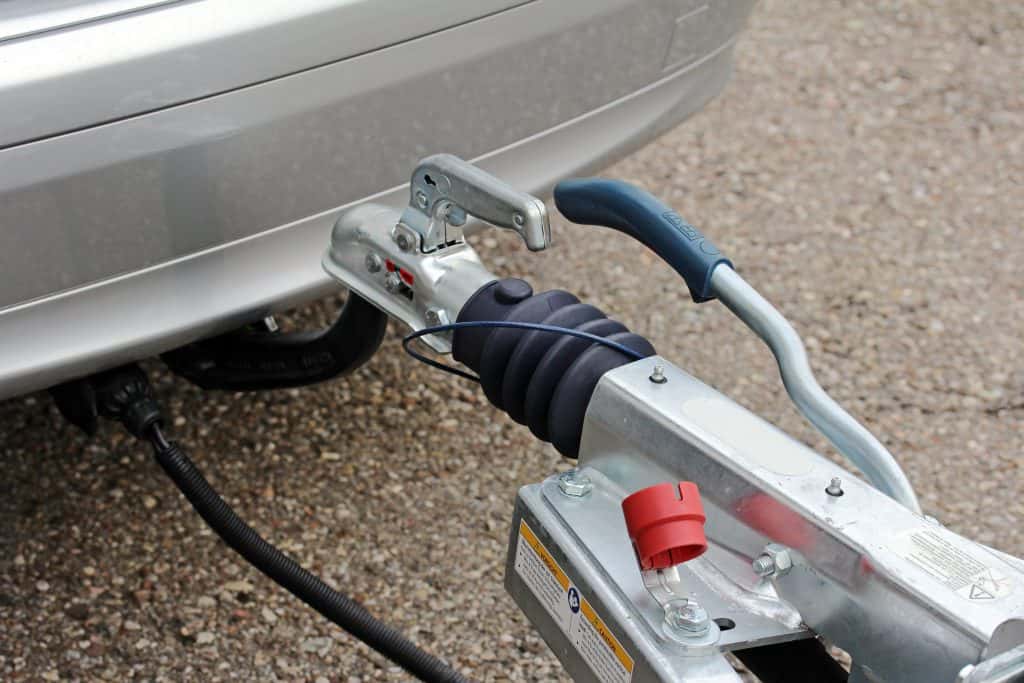
The last safety feature to attach is the breakaway cable. Again, attach this to a solid piece of the tow vehicle so that it doesn’t jostle loose prematurely. The cable must also be attached to a battery in the trailer to ensure that it has the power to do its job of deploying emergency brakes.
Finally, you just need to connect the cable to enable the brake lights and turn signals on your travel trailer. Make sure that all the lights work, double-check for any loose pieces and dragging equipment, remove your wheel chocks, and you’re good to go!
Now I know that was a lot of steps to keep track of. That shouldn’t discourage you from trying out a travel trailer though!
If you’d like a video guide to help you through this process, this one does a great job at explaining how to perform each step, as well as illustrate what each piece of equipment looks like.