Often, the dream of traveling around in a vintage camper comes with the need to renovate the bejeezus out of the said camper. The sad fact is that you typically won’t be able to find a
Well, lucky for you, I have a complete guide to renovating a vintage camper so it’s ready for all the adventures you have planned for it.
So, what are the best steps to renovating a vintage camper?
- First things first, set up a place where you can work efficiently and get the proper tools.
- Then you need to rip out anything damaged or unwanted
- Fix things like water damage, mold, and rodent and bug infestations
- Spice up the kitchen
- Improve the bathroom
- Make sure you have enough storage for all your dishes and gear
- Figure out how you’re going to provide water, heat, and power
- Finally, tune up the outside with a fresh coat of paint
I’m going to go into further detail on each of these steps to help you through exactly what you need to do in order to get your vintage camper ready to hit the road.
I’m also going to help you figure out how to get a vintage camper and explain exactly what a vintage camper is.
Set Up and Tools
Before you get to demolishing your trailer, you’re going to have do some setting up first. I know, ironic right?
Make sure you have your camper in a place that is protected from the weather. The worst thing is having a rainstorm while the outside of your camper is completely stripped bare.
Have a place to throw things away. You can rent a dumpster to put in your driveway or you can use a trailer to haul stuff to the dump.
You will want to have the proper equipment as well before you start. You will want:
- A circular and reciprocating saw– with the proper blades, these saws can be just as good at taking things apart as they are at building things.
- Jackhammers– these will help in removing tile or breaking up a stone. You’ll probably have more need for the first use than the second when remodeling a vintage camper. You most likely will need to rent a
jack hammer . - Cordless drill– you will need this for unscrewing cabinets, cushions, appliances, and
built in couches and beds. The cordless part is important because you really don’t want to have to deal with that cord following you around. - Angle grinder– after you remove tile, you are going to be left with a lot of
left over , hardened glue. You can use an angle grinder to “sand” the wood surface until it is smooth again. You can also use it to get rid of rusted bolts. - Air cleaners– though not necessary, air cleaners will suck up a lot of airborne dust and definitely make the whole experience a lot more pleasant.
- Bars– you can either use a large, heavy
crow bar for big demolition jobs, or you can use a smaller bar for smaller prying jobs. - Nail pick– this pries out stubborn nails really well. You’re going to need it. One of my jobs as a kid was to pull nails out of free firewood, and if I had a nail pick, it would have made my life so much easier.
- Hammer– the multi-tool used for building, demolishing, and prying. This one is a must.
- Pliers– these can be used for levering out nails and cutting electrical wires.
- Snips– these are great from cutting aluminum, and there will be a lot of that in a vintage camper.
- Nippers– if you seriously cannot get a stubborn nail, nippers will literally “nip it at the bud” and cut off the shaft so nothing is sticking out.
- Shop-Vac– this will suck up any dust, dirt, and even little bits of wall or nails that you don’t want on the floor of your
work space . - Plastic scrapers– these can be used to remove the old putty tape without severely scratching the surface of the camper.
Now that you have your tools and you’re all set up, it’s time to get on to demolition.
Demolition
Demolition day was always my favorite. There is nothing more exciting than tearing out the things you always hated in preparation for putting in the things you actually do want.
Of course, because you are just remodeling the camper and not bent on completely destroying it, you’re going to have to careful when you start your demolition day.
A lot of the things you rip out you might want to use again, you’re just getting them out of the way while you fix other things in the camper. The end goal of demolition is to leave you with something to work with, as few repairs as possible, and nothing left of what you don’t want.
Some of these might include the cabinets, appliances, any plumbing or electronics, or any part of the walls.
Or, you could just rip them all out anyway if you want to really flip the whole camper. The amount of demolition you do is up to the amount you want to change or improve.
The most common things you will want to throw away are the carpets and cushions. Old couches are just kind of gross. It’s almost like buys a pair of socks from the thrift store. You just don’t reuse socks and you just don’t reuse 40 year old fabric.
While you go through demolition, look carefully for any water damage or animal damage. You don’t want any termite stowaways on your voyages. If your camper is badly damaged, you might end up having to take off the outside walls to fully inspect the studs.
Damage
Over 40 years of sitting in someone’s yard will do a number on any vehicle. That’s part of the reason that vintage vehicles get sold a lot. They are damaged and the owner doesn’t want to go through the work to repair it.
Well, apparently you do, so it’s important to realize just what you might be getting into.
My dad once bought an old truck with a huge rat’s nest in the trunk. He was dating my mom at the time, and together, they spent a whole afternoon clearing out that truck so they could go on a date later that evening. Dad always says that’s when he knew she was the one.
My point is, any old vehicle will be damaged, and you need to be prepared to deal with it.
The most common damage you’ll find is water damage, especially if the camper has been sitting outside. Really the only solution for water damage is going to be replacing the wood that is damaged.
If the water damage is in the walls, it would be smart to pull the aluminum off of the outside so you can fully inspect just how much wood you are going to have to replace.
You might also have some sun damage. Chances are, the sun damage is past preventative measures, so you’re going to have to replace some parts of your camper.
Parts made of plastic, rubber, and vinyl will crack, dry out, and deteriorate over time, especially when left out in the sun. Check over your whole camper to see what you need to replace.
I would suggest using butyl tape (less than $16 on Amazon.com), an alternative to putty tape that doesn’t dry out. I would also suggest running a thin line of caulk over the top and around the corners of anything that is not flush with the wall of the camper.
Make sure the caulk is compatible with the surface of your camper and make sure to smooth the caulk down with a rag.
Replace window and door sealants. When replacing things like water hook-ups, check for leaks before completing installation.
Look for normal wear and tear on your camper. Things have probably been dented or bent through use. Replace doors that are bent or don’t shut right anymore. Or maybe the curtain pull doesn’t work right anymore.
You could also have bug infestations. Throw away chewed cushions and spray any nests of any kind.
If you have mold or mildew, mostly likely on the floor, just get rid of it. It’s harder and more expensive to save the floor or cabinet than it is to buy a new one to replace it.
The Kitchen
Congratulations, you’re on the the kitchen now!
The kitchen is in spitting distance from the living area in a camper, so you’re going to want it to look nice.
You can replace the cabinets if they are damaged or outdated. You are going to want to also install cabinet latches as well to make sure that door and drawers do not slide open on bumpy roads. You can find latches for less than $16 on Amazon.com.
If you want a new cook-top, it might be a good idea to get a full range. That way you have an oven and stove. Most ranges are run on propane. You can find one for less than $530 on Amazon.com.
While you’re getting a new range, you might want to consider also getting a new fridge. Most campers are a little too small to get even a small fridge, but most have room for an icebox that doubles as a cooler and a small plug-in fridge. You can get one for less than $140 on Amazon.com.
Then there are small things like toasters, stove covers, and drying racks that you can equip your new kitchen with. Most people like to replace the cooking appliances because we all know there are hard to clean places in the kitchen, and I don’t even want to think about what has been lurking there for 40 plus years.
If you want your kitchen to look fly as well as functional, then consider installing a small back splash. Most back splashes cost under $300. Make sure to buy a few extra tiles so that if you have to replace one, you have the exact copy.
You can also give the cabinets a new coat of paint and install some hooks for paper towels and large utensils. Make sure you have a way to wash, dry, and store all of your dishes efficiently.
The Bathroom
Even though we spend little of our time in the bathroom, we still like it to be one of the nicest places in the house, don’t we?
Bathrooms in a camper are going to be small, and you are likely not going to have a shower. But that’s good news! It means that you don’t have to renovate an extra item.
You can install a small mirror, but the
ou can even remove and reapply the tiles if you get bored. Plus, you can make them into fun patterns. A pack of the tiles is less than $13 on Amazon.com.
A lot of serious RVers like to get self-composting toilets. Composting toilets turn human waste into compost, so you don’t have to worry about black tanks or dump stations. It’s a way to live, travel, and camp off the grid. You can get one for less than $1,000 on Amazon.com.
You, of course, could spruce up the bathroom with a few decorations, a bath mat, and a fresh coat of paint.
Storage and Floors
Now that you’ve done the big jobs, you can move on to the smaller issues. Namely: storage and floors.
There are so many videos that explain the hacks you can use for storing a lot of stuff in a little space.
- pouches and hooks to hang utensils
- use magnets to secure spice jars to the side of a cabinet
- file holders and other hanging baskets can store cutting boars, cookie sheets, and foil wrap
- reuse stuff like hangers and clips to store things up in the air to make more space below
- use suction cups to hang toothbrush holders and other bathroom supplies from the walls
- stack bins one on top of the other to increase storage space
Buy things like caddies, refrigerator bars, organizers, and collapsible trashcans.
Odds are, you probably ripped up some carpet during your demolition stage. You could reinstall the carpet, but I wouldn’t recommend it. You’re going to be spilling things on the floor and tracking dirt from outside. When you’re on the road, you won’t have access to a vacuum cleaner, so it’s going to be hard to clean.
My suggestion is to install wood floors or linoleum. Wood floors are going to look better and last longer, but they are expensive, harder to install, and are susceptible to water damage. Linoleum looks a little cheap, but it is cheaper. It doesn’t last quite as long, but it is easy to clean and is more resistant to water damage.
Power, Water, and Heat
You’re going to have to decide if you want to be off the grid when you are in the camper. If you want to live off the grid, then you are going to want a way to get water and/or get hot water. There are battery powered water heaters for less than $170 on Amazon.com.
Ask the same question for power. There are rechargeable generators you can hook up to your camper for under $240 on Amazon.com. These can either be solar powered generators, or they can be recharged using your car battery.
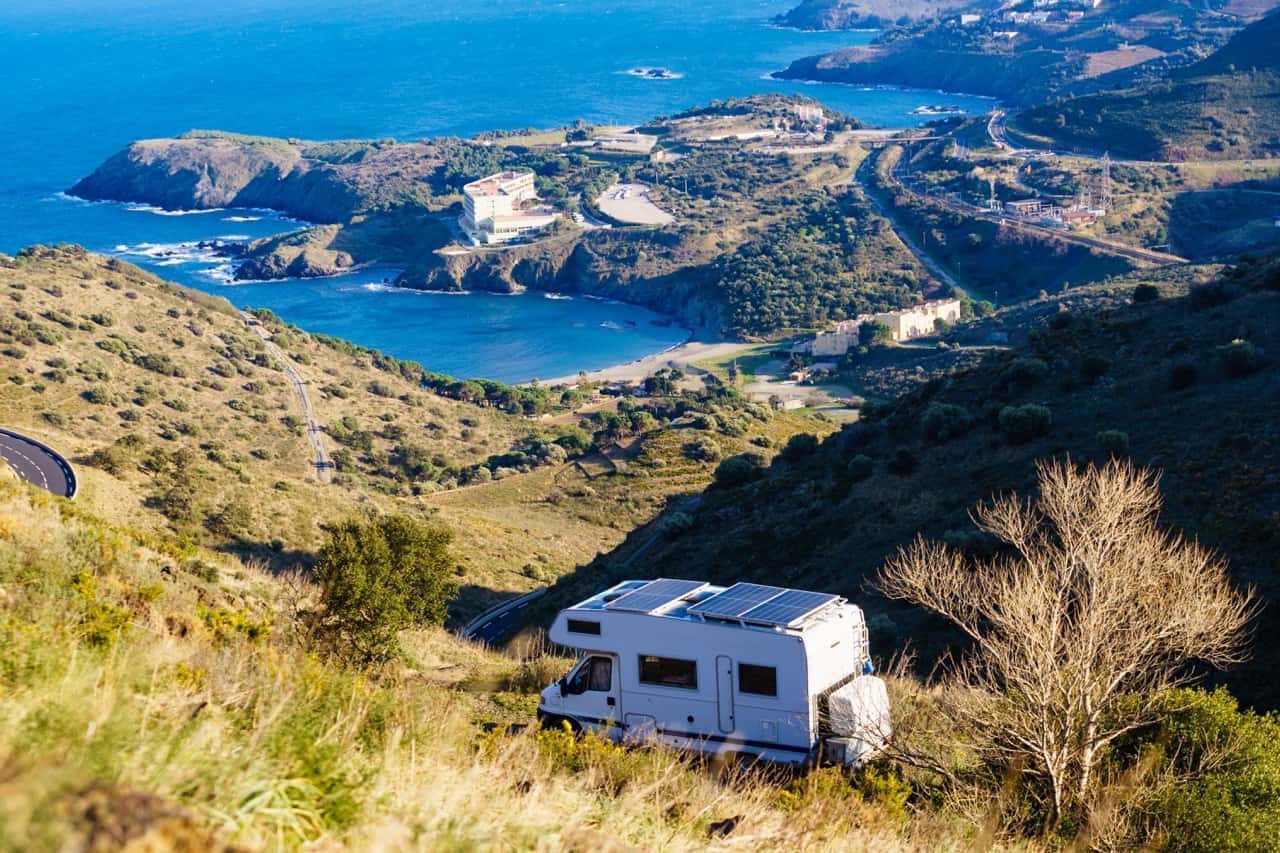
Speaking of solar power, you can also install solar panels on the top of your camper. You can get solar panels made specifically for campers for under $160 on Amazon.com.
Power and heat can come from propane, which is what your range is probably hooked up to anyway.
Your camper already has a pump system for getting water to your sink and toilet. If you want to live off the grid, then install a self-composting toilet so your water doesn’t have to go to your toilet. You can also install a hand water pump for under $54 (found on Amazon.com).
The Outside
Now that you’re done with the outside, it’s time to do the finishing touches.
Give the outside of your new vintage camper a fresh coat of paint. Scrub off the grime and make sure all of the vents are in working condition. Make sure the hinges don’t squeak.
Congrats, you have a brand new old camper all to yourself!
What Qualifies as Vintage? What Qualifies as a Camper?
Things are labeled as “vintage” is from around the 1920s to the 1990s. It’s a big gap, I know. Basically, it’s vintage if it is old, outdated, out of style, or found in one of those warehouse flea market stores you see in small mountain towns all the time.
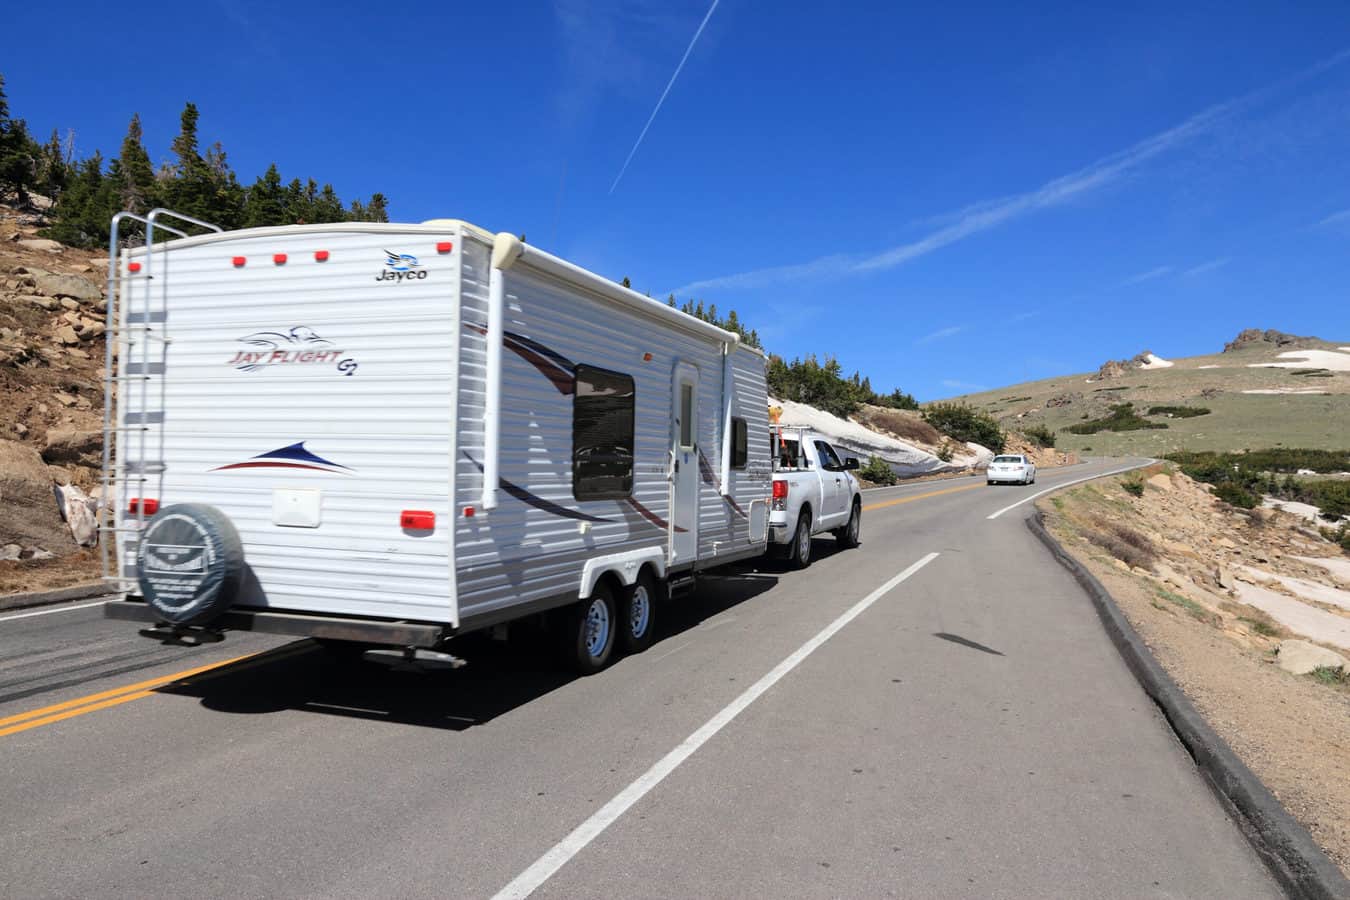
A camper is usually towed behind a truck while an RV is usually motorized. It includes a kitchen, bathroom, sleeping area, and storage.
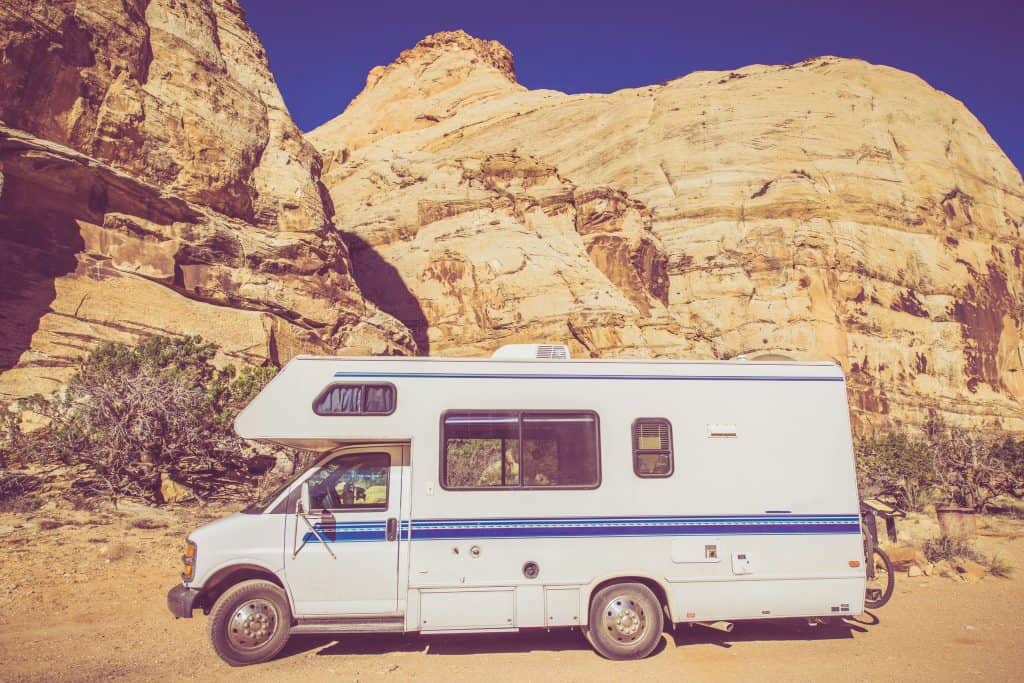
So if you have a trailer with a kitchen from the 1970’s then you have got yourself a vintage camper.
For more information on the differences between campers and RVs, watch this video.
Get a Vintage Camper
A lot of people will buy up old campers and then flip them and sell them, or they will sell them as they are as “project campers.” This means that they are selling them pretty cheap and the buyer knows that the camper isn’t necessarily in good condition.
There are a lot of these sorts of sellers on sites like Craigslist.com and Ebay.com.
Most vintage campers will cost around $5,000. However, they can be restored and sold for upwards of $20,000.
Related Questions
Can you tow an RV? Trailers and double-wide RVs can be towed by large towing vehicles like SUVs and pick up trucks. However, it really depends on the RV and towing vehicle. The answer will vary from case to case.