Upgrading items of any kind in your RV may stem from necessity or just your own personal design style and choice.
Perhaps you have purchased a used RV and want to perform a few updates to it. You might want your older RV to look like a much newer version and update many of the bathroom and kitchen faucet and shower fixtures to your own expectations and desires.
There are times when the original manufacturer items just are not as good as you would like them to be, other times they just wear out way too soon. This article will help you make the necessary changes you want to your existing fixtures.
So can you upgrade bathroom fixtures in your RV? You absolutely can upgrade bathroom fixtures in your RV. And a few little upgrades can make a basic-feeling RV into something quite a bit more luxurious.
Many manufacturers have several product lines within their brand. So your pocketbook might not be able to afford their top of the line RV, however, it does not stop you from making a few upgrades on your own so you have the best of both worlds.
Check the Warranty First
Let’s face it when we shop for RVs we never have the luxury of being able to run the water or do the normal things we would do every day when living in one. Once we make our purchase and use the fixtures for the first time we might realize the kitchen faucet spout is too low for the size pots and pans we wish to fill with water, or just wash in the sink, or too close to the faucet unit itself.
Before you start replacing faucets and stuff, just be sure to check with your warranty as not to do anything that might terminate it. It is always best to first check with the manufacturer about your warranty before making any changes to new RVs.
Your warranty might state only changes can be made from a recognized dealer in their service department in order for your warranty to stay valid. If you are not certain what the dealer states, and or your salesperson, always contact your RV manufacturer first before making any changes.
And even if you bought used, some newer used RVs may have warranties so check those as well. If you have a used RV and it is not under any warranty then you are in control and can do as you wish just as long as you follow all DMV rules and regulations and there are no safety issues with any changes or replacements you make on it.
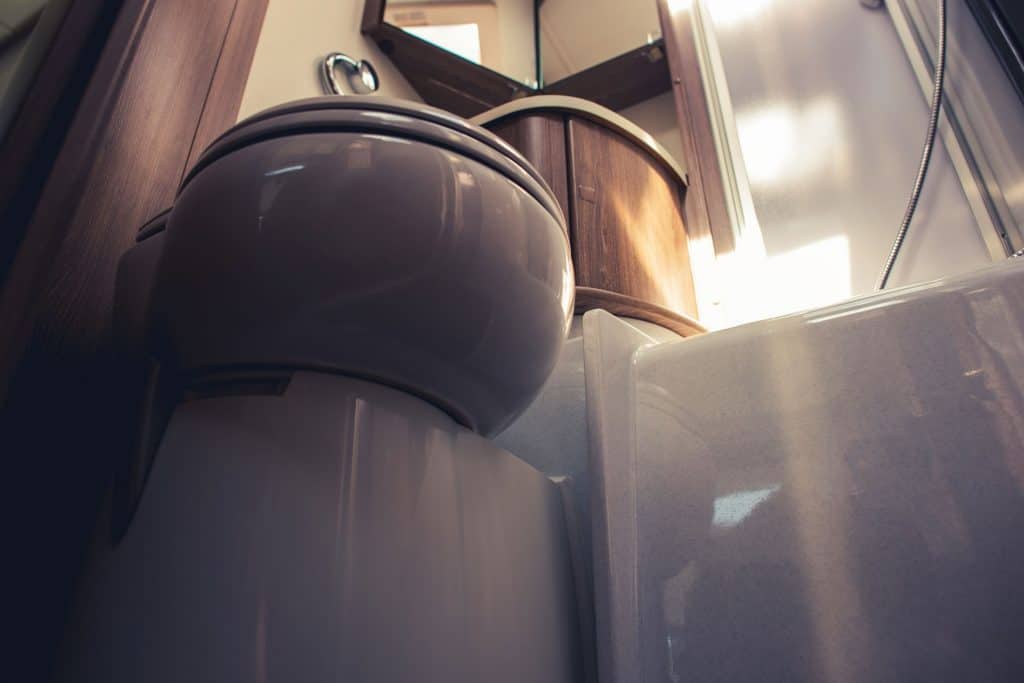
Starting Tips for Upgrading Bathroom Fixtures
For this How-To post we are going to cover bathroom fixtures, specifically shower faucets and heads, bathroom sink faucets, and outdoor shower units. Search on Google for replacement items and you will find many available on websites, plus the location of many RV stores with replacement parts.
If you want to replace a fixture with the exact same one you might contact the manufacturer for a replacement, especially if it is one exclusive to their brand to see if they still have them in stock.
The first rule with working on any water fixture in an RV is to shut off the water valve from the source water supply. If you are boondocking and using your water holding tank, be sure to shut off the pump. Then open the spigots of the fixture you will be replacing so the water lines are drained completely.
Always have a rag, towels, sponge, or small bucket with you to collect or wipe up any access so no water damage is made to your RV. Speaking of water damage, it is always best whenever working on anything pertaining to water, to recheck your work periodically afterward just to ensure there are no water leaks. Water damage and RVs is not a very good combination. So always make sure the work you do is always dry.
With replacing or swapping out any bathroom fixture be sure to take careful notes on how you remove them, because putting new ones in is exactly the same, only in reverse. When replacing the existing fixture with the same fixture be sure to see if they are in fact exactly the same.
With another type of fixture be sure to see if they are the same dimension and the pipe lengths and threads are the same. There may be times you will need to add an adapter piece so that the fixture fits into place like the one you removed.
In the event your RV is older it is always best to replace any hose connection lines with new ones, especially since you are taking the time to replace the fixtures with the same or different ones.
This way you know you will not have to make any repairs in the future you could have avoided with some simple precautions and preventive maintenance.
To avoid any water leakage that could cause damage to your RV always be sure to use pipe thread tape and plumber’s putty where needed.
Make sure all fittings are tightened completely and check for leaks immediately after turning the water back on. You never want to over tighten any connections since most times the materials will be plastic and could crack or break.
When you know that there are no leaks then replace the access panels and close and lock any access doors. You have now safely replaced your bathroom fixture.
All RVs are not alike, so some may have an outside panel you open or door you unlock to gain access to the fixture, especially your shower. Others may have an interior panel to remove to gain the best access, such as under the sink. Bathroom sinks, unfortunately, are not always the largest or easiest to access. They may only offer a small area to gain access, so be patient.
Often you may check with your nearby dealer and ask your salesman or service manager about how to access certain areas of your RV. Bring it there with you if necessary so they can show you. Check on YouTube to see if the specific task you are about to undertake is documented there, step by step to make your job easier, and/or to answer specific questions you might have.
Most likely there will be more than one so watch them all if you need to. If you perform plumbing jobs in your home you can always perform them on your home on wheels.
Sink and shower faucets are attached with threaded couplers that tighten the base in place. Often you might need an extra set of hands and/or eyes to ensure the base is installed level and not offset. So before you begin make sure there is help available just in case you need it.
Let’s run through a few situations.
Replacing a Shower or Sink Faucet in Your RV
Obviously, a kitchen sink faucet and a bathroom sink faucet will require the same sort of replacement procedures. Here we are just concerned with bathroom fixture replacements.
After making sure your replacement is the same or if not, that it has all the same parts and dimensions as the one you are replacing it with. Turn off your water source and pump if necessary before you begin.
Be sure to take proper care to recall the exact procedure so you know what you did. Perhaps take some notes and photos or if you can shoot it on video. This way all you have to do once the old one is removed is to do everything in reverse to install the new one.
So your water source is turned off and you open the hot and cold valves to drain any access water from the lines. Remove the hot and cold water lines from the faucet and drain into a bucket or wipe dry with a cloth. Make sure the hot and cold lines are marked, and if not, do so yourself for future reference.
PEX lines may be colored red for hot and blue for cold. Loosen the couplers which keep the faucet in place to the sink or shower wall. If it is a shower faucet you may wish to disconnect the shower wand assembly if there is one to make the job a little easier.
You may or may not be replacing it so make sure it is not damaged.
A sink faucet will also need the drain stopper to be detached, so make note of the length where the stopper handle connects to the drain plug. Let me point out your sink stopper might just be a manual plug and not a household style pull/push stopper. This will just depend on the style originally installed in your RV.
With the couplers removed the faucet assembly should lift up or out depending on which one you are working on. Clean around the holes so the new one will fit in nice and snug.
This is where you might use plumbers putty if it is called for or was used in the original installation. When you have the replacement faucet inserted thread the coupler collars in place, making sure the faucet is level or square depending on where you are working.
Once you are happy with the placement, tighten the collar couplings. Now you are ready to reconnect the hot and cold water lines. This is where you may wish to use thread tape to ensure a nice tight leak-free fit. Be sure to wrap it clockwise around the threads and do not use too much.
Be sure to double check your fittings for tightness before turning the water source back on. Open the hot and cold water valves and check for any leaks. Hopefully, all is dry and you now have a brand new bathroom sink faucet or shower faucet.
By the way, this will also be the same for replacing a kitchen sink faucet.
Replacing an Outdoor Shower on Your RV
We’ve covered replacing your indoor bathroom shower fixture with a new or different one. What about those of you with outdoor showers? We have not forgotten you. What about those of you without outdoor showers? Would you like to install one yourself? We are going to cover that in here as well.
First lets cover replacing your outdoor shower. You have to find where it is located and how to get to it inside your RV. Once it is located the formula is pretty much the same.
- Turn off your water source and/or pump.
- Open the valves to drain the lines. Make sure they are marked hot and cold.
- Remove the hoses and see if they need replacement. Many outdoor showers allow the hose and wand to stay connected and stored within the outside compartment. Others are smaller and the hose and wand must be detached after each use and stored elsewhere.
- Once the wand and hose are detached loosen the couplers that hold the faucet in place. Remove the faucet unit from the compartment, clean the surrounding areas if necessary and replace it with the new one.
- Then just do everything in reverse.
Make sure the faucet is level and centered and screw on the couplers that keep it attached. Attach the water hoses and again use pipe thread tape if needed. Turn the water back on and check for leaks. If there are no leaks you are good to go.
One thing you might consider if you have the smaller styles where you have to always connect and disconnect the hose and wand with every use is to install a larger unit in place of the old one.
This might require enlarging the opening if necessary or the unit might just be deeper and sit further back into your RV if space allows. This is your decision and can only be made if you feel secure with any additional cutting out and fitting into place you might need to do.
You may wish to consult your RV dealership service department if you feel it is too much for you. better to be safe than sorry.
Install an Outdoor Shower
As for cutting into your RV, this is where installing an outdoor shower that was never there in the first place comes in. Are you ready for this upgrade?
First, you have to locate an area one will fit in. Many of the kits have additional supplies for making sure the fit has no leaks to the inside of the RV from the weather. You will most likely have to calk around any seams to assure no leaks occur.
Now that you have located an area to install your new outdoor shower find your water source hoses and see where you can cut them and install a tee in the line for water to flow to your new outdoor shower. You can use Shark Bites if you wish or use a threaded connection.
If you are not sure what Shark Bites are just Google them.
Obviously, when working with any water line you must shut off the sources and open valves to drain the lines. Once tee connectors are installed run water lines from the tee to your outdoor shower and install fittings on the ends, either with Shark Bites or a threaded connection. Now connect your shower connection lines to your main water source lines.
What you have done is create a water source for hot and cold water from your main lines to your new outdoor shower. Believe it or not, that is the easy part, now you have to figure where to fit your new outdoor shower into the wall of your RV.
Like they always say measure twice and cut once, and there is nothing wrong with measuring three times. I usually do.
There are online Youtube videos to show you how this is done. You want to cut to opening just enough so the shower assembly fits is snug and is level and centered where it needs to be.
You may wish to place the template inside the RV to make sure nothing is in the way. There may be insulation to remove, just make sure you have no electric wires or other water lines in the way. You can then drill pilot holes in all four corners and then remove the template from inside the RV and place it outside by aligning up the four corner holes.
Once all looks level, centered and workable you can cut out the opening. Be sure to use a saw blade designated for metal. Now, most likely there will be no internal support area so you will have to frame in the opening to have support for the new outdoor shower assembly to be connected to using screws. You can use wood or metal depending on the material already used in your RV.
Once the assembly is installed and made watertight from any outside elements you can install the faucet making sure it is level and then attach the couplers before attaching the water hoses turning the water source and/or pump back on and then check for leaks. This is just like replacing a shower faucet. Next, attach the shower hose and wand.
Again, check for leaks. If you feel this is slightly above your pay grade ask your RV dealership service department about performing the installation. They may guarantee their work with a limited time warranty.
Also, ask first whether you do it or not that such an installation will not be anything against your original warranty since you would be making a change to your RV. You never want to void a perfectly good warranty.
Now you are ready for your next DIY RV project. This is the beauty of RVs, they are pretty easy to work on and you can make them your own design. Just walking through any RV supply store you almost get overwhelmed with all they have to offer you just to make personal changes to your own RV.
Be sure to take photos of the fixtures you like the look and feel of. RV Shows are great sources of design inspiration so always take lots of photos. One thing to always consider is weight. Often original faucet and shower fixtures in RVs will be plastic.
They may not be as durable as metal, however metal fixtures weigh more and we all know the importance of weight and the overall impact it has on RV travel. Always remember this RV is your home on wheels so why not make it your very own just the way you want it to be.
Happy travels and please be sure to bookmark this website.
Links to products and how to videos:
RV and Camper Plumbing Supplies https://www.etrailer.com/rv-
RV Parts http://www.rvpartscountry.com/
RV Parts & Accessories http://www.dyersonline.com/rv-
RV Upgrades https://www.rvupgradestore.
How To Videos youtube how to rv upgrading plumbing fixtures
On Amazon: https://amzn.to/2GxpXFe?tag=knowledgeshar-20