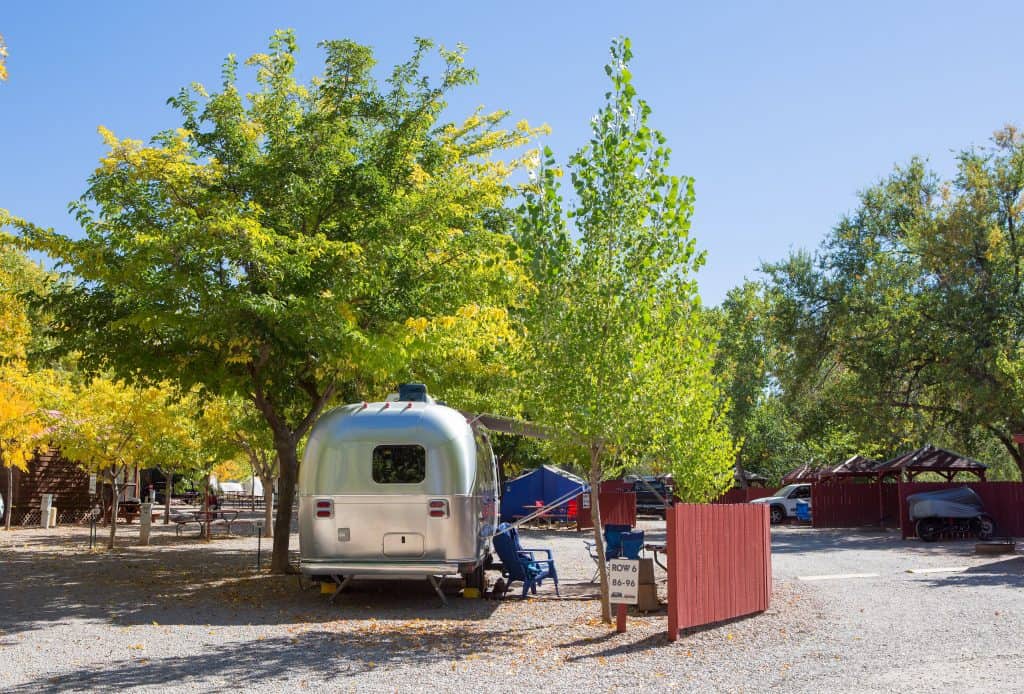
If you are gearing up to purchase an Airstream, you probably want to make sure it isn’t going to leak on you.
Can Airstreams get water leaks? Airstreams can leak. Over time and with wear and tear, the seals on your Airstream will break down, resulting in a leak. However, Airstreams are known to last much longer than most campers and are much more easily fixed than leaks that some common campers get.
Since Airstreams can cost a pretty penny, people get concerned when they hear that they may have a simple problem such as leaking. Fortunately, Airstreams last longer than most campers. Much like how even the best cars need oil changes, a leak only requires simple maintenance.
Why Airstreams Leak
Airstreams look so well-sealed that they resemble submarines, so why do they leak? The answer is a sealant. When you take your fancy fifth wheel out for a spin and park it for a week in the hot July sun for some family bonding, the UV radiation, rain, and other outside forces wear down the sealant on the cracks of the seemingly impenetrable hull.
When the seals begin to wear down, water slips into those compromised rivets and edges. As water gets in, the problem gets worse. The good news is that this can be very easily fixed by somebody with very little experience.
With proper care, Airstreams can last a very long time. People are still using the ones they bought in the ’60s! The trick is keeping the leaks down to a minimum. When an Airstream or any other camper starts to leak, water allows the mold to take hold. Your camper starts to lose its strength due to rust, mold, and other water-related damage.
No sealant is perfect, but if you keep up with it your Airstream can last for the years to come. The trick here is diligence. Some people just pay for professionals to re-seal their entire hull every 5 years or so, but others find they want to save a few dollars and do it themselves. Doing it yourself is easier then you might think.
Some say that they can do it on a free Saturday, but for those new to using a caulk gun, it might take a little longer. You have the choice of doing it yourself or paying around $600 to have the dealership seal it for you.
By paying for an experienced professional to seal it back up, you extend the life of your airstream by preventing future water damage. Nobody wants a moldy camper!
Fixing a Leak in Your Airstream
Fixing a leak in your Airstream can be intimidating. If you are the type of person that just wants it done and done right, it might be a better option to find a professional to do it for you.
A quick way to seal your Airstream in a pinch is to apply duct tape to all the rivets and seams on the roof of your camper. This should hold you over until you can get it into a dealer or reseal it yourself.
If you feel that you are up for the task of sealing a leak in an Airstream the right way, here are the things you will need:
- A large suction cup
- Plenty of your chosen sealant
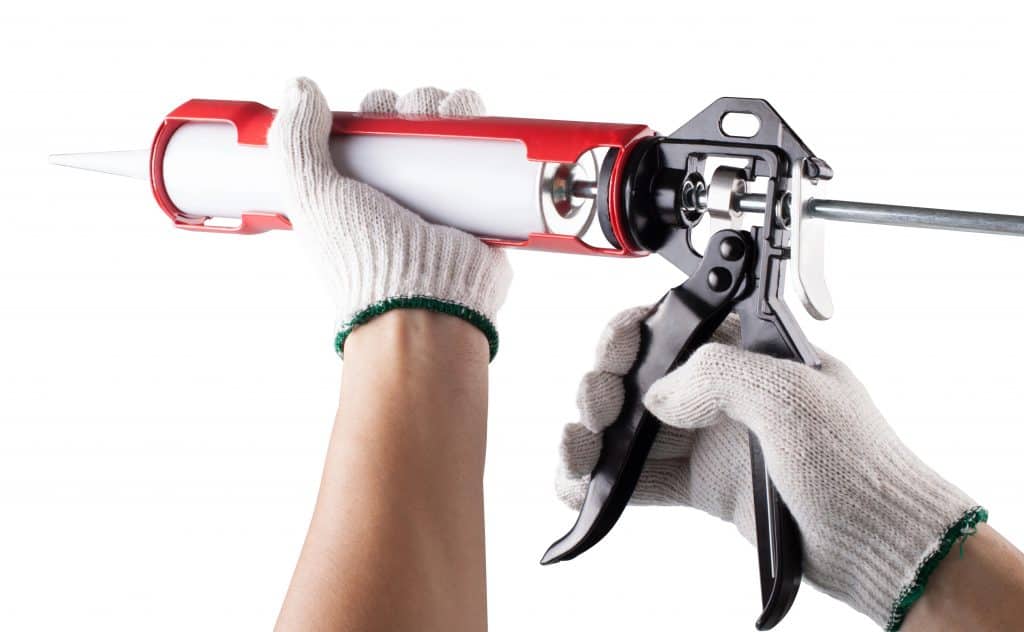
- A caulk gun
The hardest part about a leaking Airstream is finding the spot that is leaking. Although you may see the water, sometimes it is coming from a very different spot on the outside of your Airstream.
Water can come in towards the top, and follow the edge of your camper and eventually come out on the floor due to the curved design. There are some very simple tests for finding out where your leaks are coming from.
One such test is to place a suction cup over the rivets located on the outside of your Airstream. If the suction cup sticks, then the rivets seal is intact, if not then you may need to reseal the rivet.
Sealing individual rivets can solve a simple leak, but Airstream veterans are aware that every 5 years or so that its parked outside you need to reseal the entire hull.
Sometimes it is not the rivets that are leaking. The best way to find another leak is to have somebody standing on the inside, looking for leaks and have somebody on the outside spraying the trailer with a garden hose. Oftentimes this leads to a quick discovery of the location of the leak.
If you want to reseal the entire hull yourself, you are going to need some extra tools. Here are just a few:
- Razor blades
- A heat gun
- A lot of sealant (you will use it)
- Plenty of time/patience
- WD40 (breaks down the sealant)
- Tools for removing pieces of your camper
Although this is very basic to some people, it might be very new to you if you have never done this before. It is best to ask somebody that is handy to show you how to remove and apply sealant.
The first part is getting rid of all of the old sealant. This is going to be the dirty work of the job. Scrape and pull at any of the old sealant that is left. If you leave any behind, it will hinder the new sealant from creating the proper barrier to the water that will be hitting your roof and walls.
If you have any trouble removing the old sealant, us a heat gun to warm it up and it will come off easier.
When sealing your camper, always remember that it is about getting the sealant in the crevices and nooks that water could get into. practice on some scraps before sealing your trailer. Make sure you do this in a well-ventilated space as some sealants create fumes as they cure or “dry”.
Really push the tip of your sealant into those cracks as you apply it. If you put too much on its no big deal, just cut off the excess when it is hardened. Be sure to find any connection or hole on your camper, especially in spots that had been leaking before.
One of the worst things you can do is try to seal leaks from the inside. This will seal the water inside the walls and cause a lot more rotting to occur.
The Best Sealant on the Market

The best thing you can do for your Airstream is to take it to the dealer and have professionals do it. They know what to use.
That being said, if you want to do it at home its best to use what they use. You can purchase an Airstream sealant kit from the Airstream website. The only problem is that it is a little pricey for what you are getting.
There are plenty of other substitutes for their products elsewhere, and a quick inquiry at any hardware store will get you what you need.
Many people caution against silicone sealant and recommend some sort of caulking. Some of the common recommendations are:
- Dicor 501LSW-1 Lap Sealant
- ToughGrade Self-Leveling RV Lap Sealant
- Geocel 28100V Pro Flex Crystal Clear RV Flexible Sealant
There are plenty of warnings online about colored sealant for people that have never done this before. If you are sloppy with clear sealant, it is really hard to see. If you get white sealant on a window, you will be looking at your mistake for a while unless you get it all off.
Related Questions:
How long do Airstreams last? Airstreams tend to last 40+ years. Airstream claims that 60-70% of their trailers are still in use today. This is an amazingly high use rate for these older campers. Most campers last less than 15 years, while Airstreams can last much longer.
Why are Airstreams so expensive? Unlike most campers, Airstreams have a metal exterior and are designed to last. This makes them a little pricier. They tend to be passed down to children, as opposed to finding their way to the scrapyard.
Do they still make Airstreams? Although there are some new models that digress from the shiny submarine look, Airstream still makes campers that are much like their original products, and all of their products are meant to last longer than the average camper.


So if I understand correctly old sealant is removed from ‘seams’ , rivets themselves are inherently ‘watertight’ when they were installed at build time, but individual rivets over time either break or wear or get damaged. Using a suction cup allows individual leaking rivets to be identified. Okay so far.
So for seams (and around penetrations, skylights, antennae, etc.) a continuous bead is run emphasizing getting sealant in between overlapped aluminum.
But what about the individual rivet(s) that the suction cup revealed? Do I apply a little dab of sealant and smooth it to conform to rivet and aluminum minimizing how proud the sealant presents? I certainly do not want to replace the bucked Al rivet(s) with pop rivets do I?
So we acquired a 1972 Sovereign Land Yacht front queen, twin side bunks with rear bathroom unit and this is what I plan to ‘waterproof’ so I can take it out of cover.
Any advice would be greatly appreciated.
Clear or silver sealant? Which brand(s) recommended. Live in upstate NY.
Thank you in advance.
Thank you Jim. I have read your article a few times.
it is very helpful. I discovered after a heavy wind blowing rain storm that I have another leak or the same leak not treated well enough.
Water pools right at the front door and I am fairly certain that the scree door and outer door are closed and locked.
it is a 1976 Sovereign Land Yacht rear bath front queen bed (was sofa bed) parked…