In the stifling heat of midsummer, who has time to think about turning on their heater? If anything, you’re probably abusing your air conditioner, maybe to the point where you’ve considered adding a second unit.
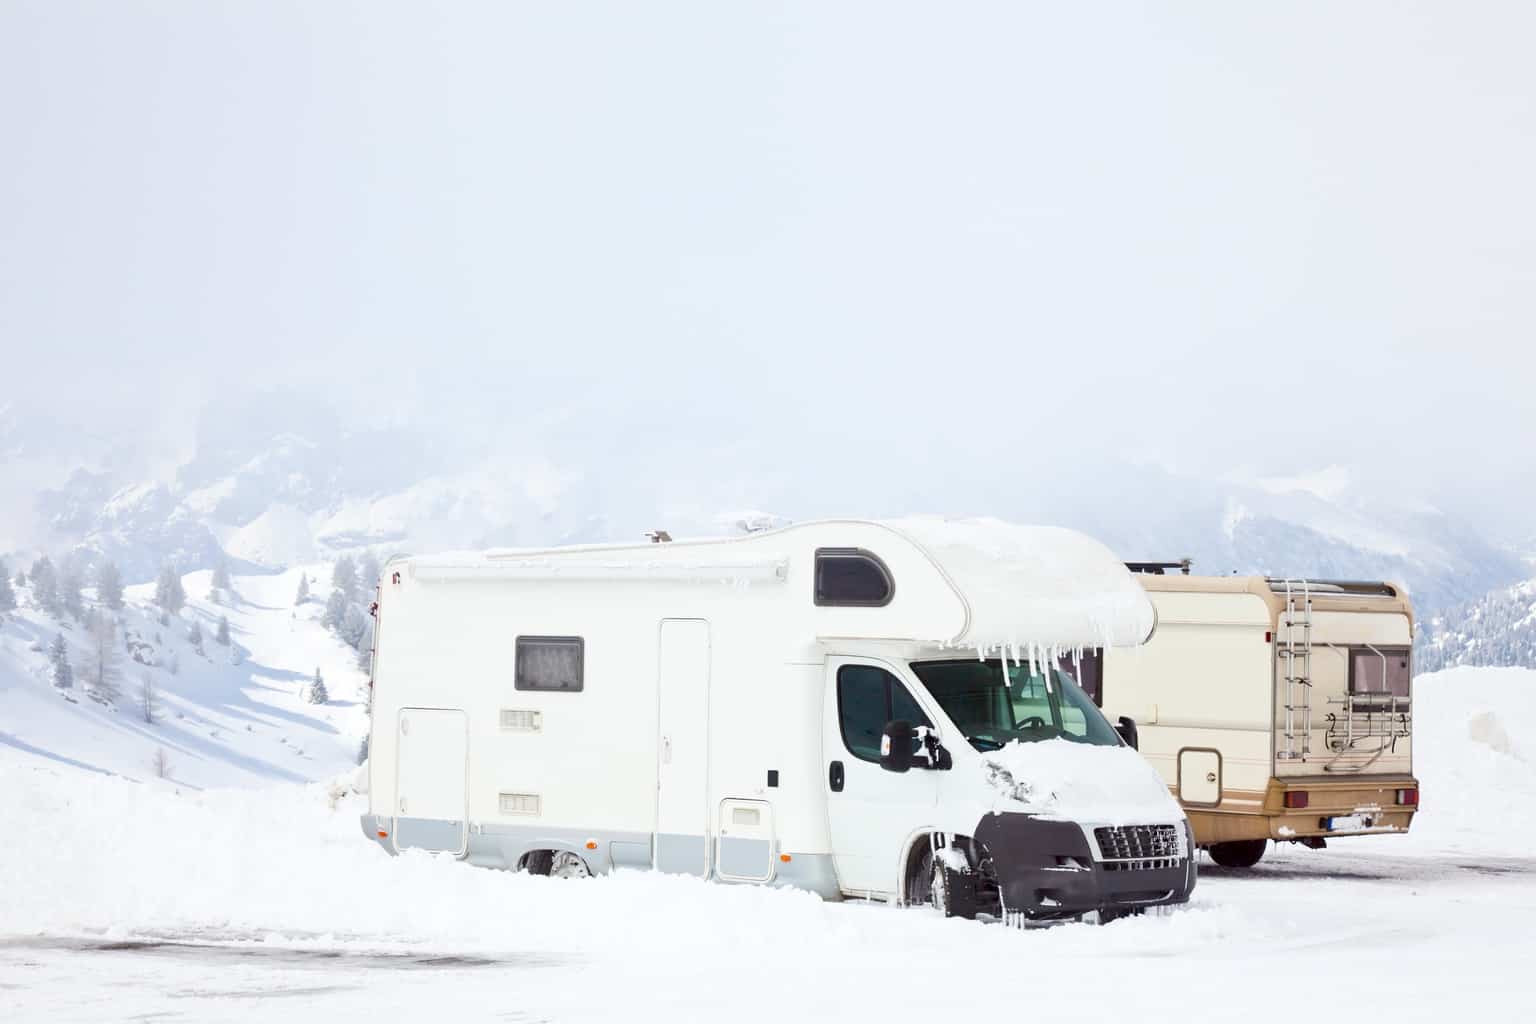
Just like you always plan for the routes you’ll take on your road trips, you should also be ready for the upcoming cold season. Summer has already been kind of blink-and-you’ll-miss-it. Before you know it, the kids are going to be back to school and RV winterization time will be right around the corner.
Now, it’s no surprise that running your air conditioner or heater for hours of end in your trailer is expensive. These units take up energy, or fuel sources. When you use them often, they deplete that energy. You then have to refill them, shelling out money each time you do so.
Most RV and camper heaters have two fuel sources: gas or electricity. There are some units that use both. Propane is also somewhat common. These fuel sources can be big money pits.
If you’re tired of putting forth your cash constantly in the endless battle to warm your vehicle, you have other options. Perhaps you want to switch from an electric or gas setup to something else. That’s possible.
You just have to get inventive. In this article, I’ll outline four alternative, unique ways of heating your camper. As July gives way to August and more cool days start rolling in, try these heat sources now. If you like them, you can use them all autumn long.
1. Insulation
The first idea for heating your camper comes from an RV owner who wanted to go propane-free. They decided that by adding extra layers of insulation to their trailer that they could get more heat inside.
Now, while you can save a lot of money long-term with DIY insulation (or even a pro job), you’re going to have to spend some cash upfront. It’s also going to be a somewhat time-consuming job, too, and one that you’ll have to check on every few months.
If you decide to try insulating or reinsulating your camper yourself, there are two areas to focus most of your energy on: windows and vents. These are often where most of your cold air is leaking in from. Tiny cracks or slits in the sealant, glass, or vents will keep you shivering day and night.
Doors can also invite that cold air in. Again, if there are small holes in the sealant or the weatherstripping, you’re bound to have some cold days and nights on the agenda.
Here’s how to insulate these important areas.
Windows
Buy some reflective insulation for your windows. This looks silvery metallic in color and retails between $45 and $70 for a roll. The R-value is often R-3.7 through R-21, which is pretty good. In case you need a reminder, the R-value tells you how well the insulation will trap heat inside a space. Generally, the higher the R-value number, the better.
To insulate, you want to cover your window with the reflective insulation. Make sure all the glass is covered. Is this kind of an eyesore? Well yes, sure. Are you going to be warmer? Definitely, especially if your bedroom nook has windows.
Vents
From hatch vents to roof and wall vents, you need to cover them all. The thinner the plastic of the vents is, the easier it will be for you to work with them.
You have two options for the vents. You can get yourself a vent insulator, such as this one from Camco, which is $15 on Amazon. As you can see from that link, a vent insulator is a large chunk of insulated foam that may come with a reflective surface (you can get it without one, too). It keeps an already toasty camper nice and warm.
A vent insulator is also handy this time of year, the summer, as it traps in the cold air. You will have to make sure you buy a vent insulator that is the right size for your vents, though. For instance, the one from Camco is for 14-inch vents. If your vents are bigger or smaller than that, you’ll have to shop around elsewhere.
Your second option for your vents is to get some Styrofoam. Position it underneath the vent covers. It will prevent cold air from getting into your vehicle. The Styrofoam must be cut to fit precisely and may have to be secured with tape or another adhesive.
Doors
You probably already have plastic wrap at home, right? If so, stop back and get it, because you’ll need it for your camper doors. This DIY job also requires cleaning solution or alcohol, a hair dryer, double-sided tape, and a razor blade (be careful when you use it!).
First, you want to wipe down your door so it’s as clean as possible. Now tape the edges of the door. Take as much plastic wrap as is necessary to cover the entire door. Adhere it to the double-sided tape. There might be wrinkles and air pockets, but that’s fixable.
Plug in your hair dryer. Turn it on medium or high and apply heat to the door’s edges. Once those are secure, move the hair dryer over the rest of the door. Only do this for seconds at a time. If you go longer than that, you could destroy the plastic wrap. By the time you’re done, you should so no wrinkles or air pockets.
This insulation, once it’s heated to the door, actually looks better than you would have expected. The plastic wrap won’t come loose on its own but can be removed if need be.
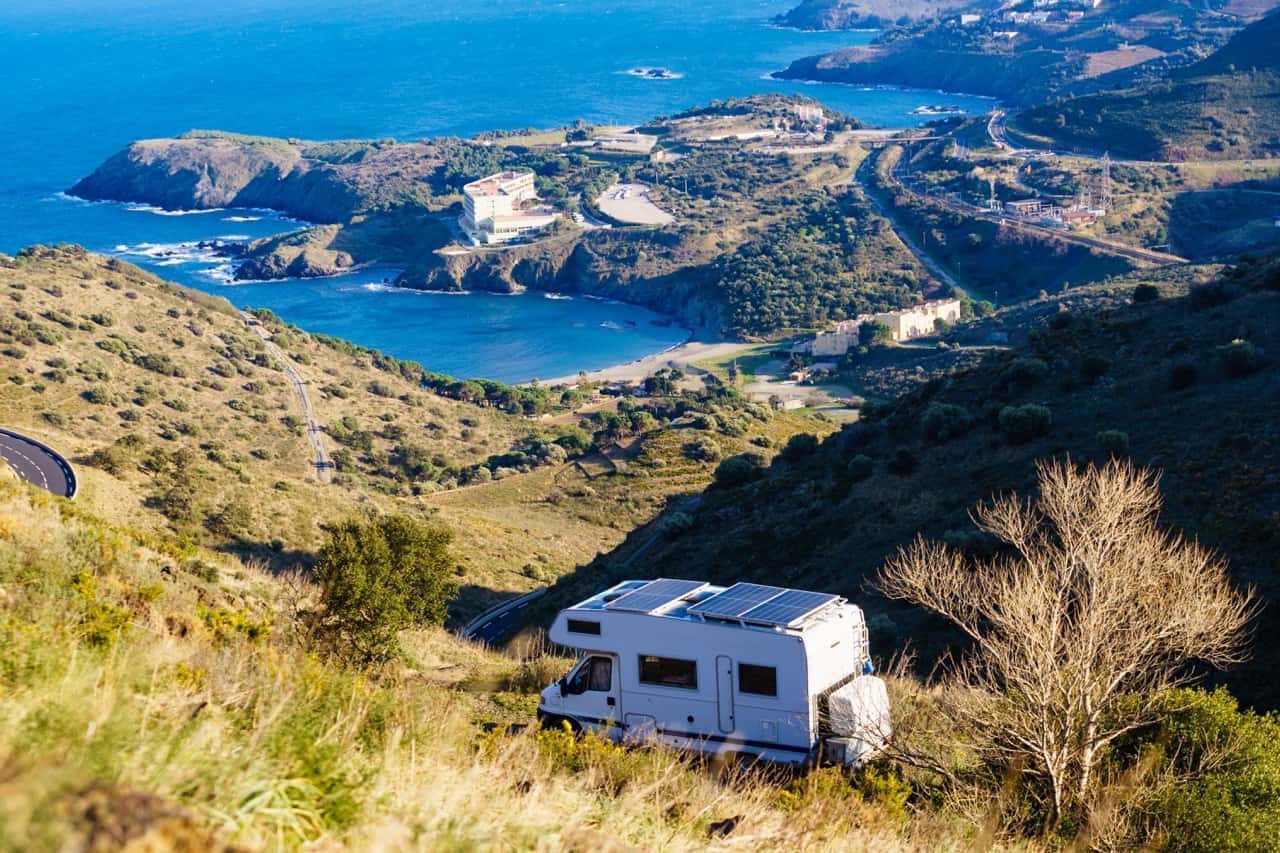
2. Solar Heating
Solar panels may not be an attractive feature on peoples’ roofs, but they serve a very handy purpose. As a means of renewable energy, solar panels generate photons. This only happens when they sit in the sun for hours. The photons can be used as electricity, aka warmth for your camper.
If you’re looking for a fun DIY project, this one comes courtesy of Mother Earth News. You’d build your own solar heating window box that can be used on a smaller scale, such as on your camper.
According to Mother Earth News, you only have to spend about $35 to assemble your own window box, called a Heat Grabber. This is another inexpensive solution that can contribute to big, long-term changes in your camper.
It’s recommended you get Celeotex Thermax TF-160 insulation board specifically for this project. This is thinner board that may be as slim as 3/8 inches and as thick as 1 7/8 inches. It’s built with aluminum foil and glass fibers. You’ll also need:
- Black paint (Rustoleum is a preferred brand)
- All-metal aluminum foil duct tape
- Three pieces of single strength glass
- 16 scrounged No. 8 finishing nails
- Panel adhesive
How does the Heat Grabber warm up your camper? As a “weathertight box that’s insulated on the bottom and sides and topped with glass,” it has a lipped insulated divider. Due to the angle of that lip, the Heat Grabber can go over a windowsill. This allows the Heat Grabber to gather sunlight. The recommended angle for placement is 45 degrees.
Sunlight heats the aluminum foil and the black divider (which you painted). The glass portions of the Heat Grabber welcome sunlight in easily. When the aluminum foil is adequately hot, the air around the Heat Grabber also heats up. That air spreads throughout your vehicle.
The Heat Grabber has an open portion for sucking in cold air. That air moves towards the top then down through to the divider. Said air can then be heated again by the sunlight, repeating the process infinitely.
While the Heat Grabber is an inexpensive means of providing warmth, the space that will be warmest will often be the one where the Heat Grabber is located. Also, this method only works if you have sunny weather often. If you’re driving, the Heat Grabber probably can’t get the consistent direct sunlight it needs to provide warmth. You will likely have to keep your camper stationary for best results.
3. Wood Stove
While a Class A RV could probably accommodate a full-sized fireplace, your camper cannot. There’s just no room for such a big addition. That doesn’t mean you have to give up on the idea of a wood-burning source of warmth entirely. You just have to think outside the box…in this case, quite literally.
A wood stove is a much smaller version of a fireplace, so there should be room for one in your camper. If not, there’s a Canadian manufacturer called Cubic Mini Stoves that makes mini wood stoves perfect for vehicles like yours.
There are several models out there, some that can sit on a shelf and others that are mounted to the floor or even the wall. Let’s go over the specifications for a few of these stove models now.
- The Cubic “Cub” CB-1008 is 11 inches wide, 12 inches tall, 27 pounds, and can run on pressed fire logs, charcoal, and wood. It has a door opening measuring 6×4.
- The Cubic “Grizzly” CB-1210-BR is 13 inches wide, 15 inches tall, 34 pounds, and can run on the same fuel sources as the Cub. Its door opening is 7×5.
You can get both the Cub and the Grizzly in wall-mount and even floor-mount versions. According to Cubic Mini Stoves, their wood stoves can eliminate camper humidity. They’re also supposed to be better than propane and diesel heaters in terms of safety.
Although it might seem like a wood-burning stove would give off a lot of unwanted emissions, that’s not so with Cubic Mini Stoves. These are designed to be eco-conscious and eco-friendly.
With 6,000 to 14,000 BTUs of heat being released within your camper, you’ll notice a huge temperature difference almost right away. You will have to take care of the installation yourself, but the manufacturer says this isn’t difficult. The stove is built with laser-cut steel plates, so the materials used are durable. You should be able to enjoy your wood stove for years.
4. Electric Heater
The last pick for unique ways to warm up your camper is with an electric heater. Think of this as a space heater like the one you might already have in your home. It’s meant to heat up small rooms or portions of the vehicle. If you have an especially smaller camper and place the electric heater somewhere in the middle, you could warm almost the entire space.
Electric heaters are convenient because they’re often portable. If one of your passengers is feeling especially cold, they can simply pick up the heater and move it closer to them for a while.
The main component inside an electric heater is a resistor. This acts as the electric heating element that warms up the parts inside the heater. Once these become hot, electrical currents are generated. The currents pass through the heater and come out as warm air for you and your passengers.
A favorite choice for camper trailer owners is Lasko’s ceramic heater. This compact heater can tuck beneath a desk or shelf as well as sit on a tabletop. You can get it in silver or black for about $32 on Amazon.
The heater includes a carrying handle for the abovementioned fast transportation from one room to another. It won’t ever get too warm thanks to its automatic overheat protection feature.
There’s a fan-only setting if you need just a little warmth. When the heater is set to low, it runs on 900 watts, and when it’s on high, you get 1,500 watts. The built-in thermostat lets you switch between settings so everyone is happy.
The reason camper and RV owners are so thrilled over Lasko’s ceramic electric heater is because it’s known for not making a lot of noise. This way, if you’re pulled over at a campsite for the evening and you want to sleep, this electric heater won’t interrupt your rest with chugging and mechanical whirrs.
Conclusion
Propane or gas heaters aren’t your only option as a camper trailer owner. After all, they’re not always convenient. Maybe heating units like these are too hefty for a trailer of your size. You may also be deterred by the costs needed to keep the units running.
Luckily, you can warm up your camper in other ways. These alternative methods are a little unconventional, but they do keep your vehicle toasty and comfortable. Whether you prefer to insulate, build a Heat Grabber, or purchase a wood stove or electrical space heater, you have plenty of ways to stay safe from the cold.
[author title=”About the Author” style=”font-family:lato;”]

How do u keep the cold air from under the camper
You should not use or even consider a GAS / LP heater inside your RV!
Wood Burning Stoves are just ridiculous!
YOUR BEST BET and REALLY ONLY CHOICE are Electric Floor heaters. We use them in our 5th wheel and they work great. Of course we DO NOT LEAVE them on while we are sleeping.
Any supplemental products you use to heat your RV, should always be turned off when you leave the RV or Go to bed at night. Countless fires happen every year, because people don’t abide by Recommended Safety guidelines!
DON’T BE THAT GUY!
Good idea’s
*Solar panels do not generate photons; they absorb them.